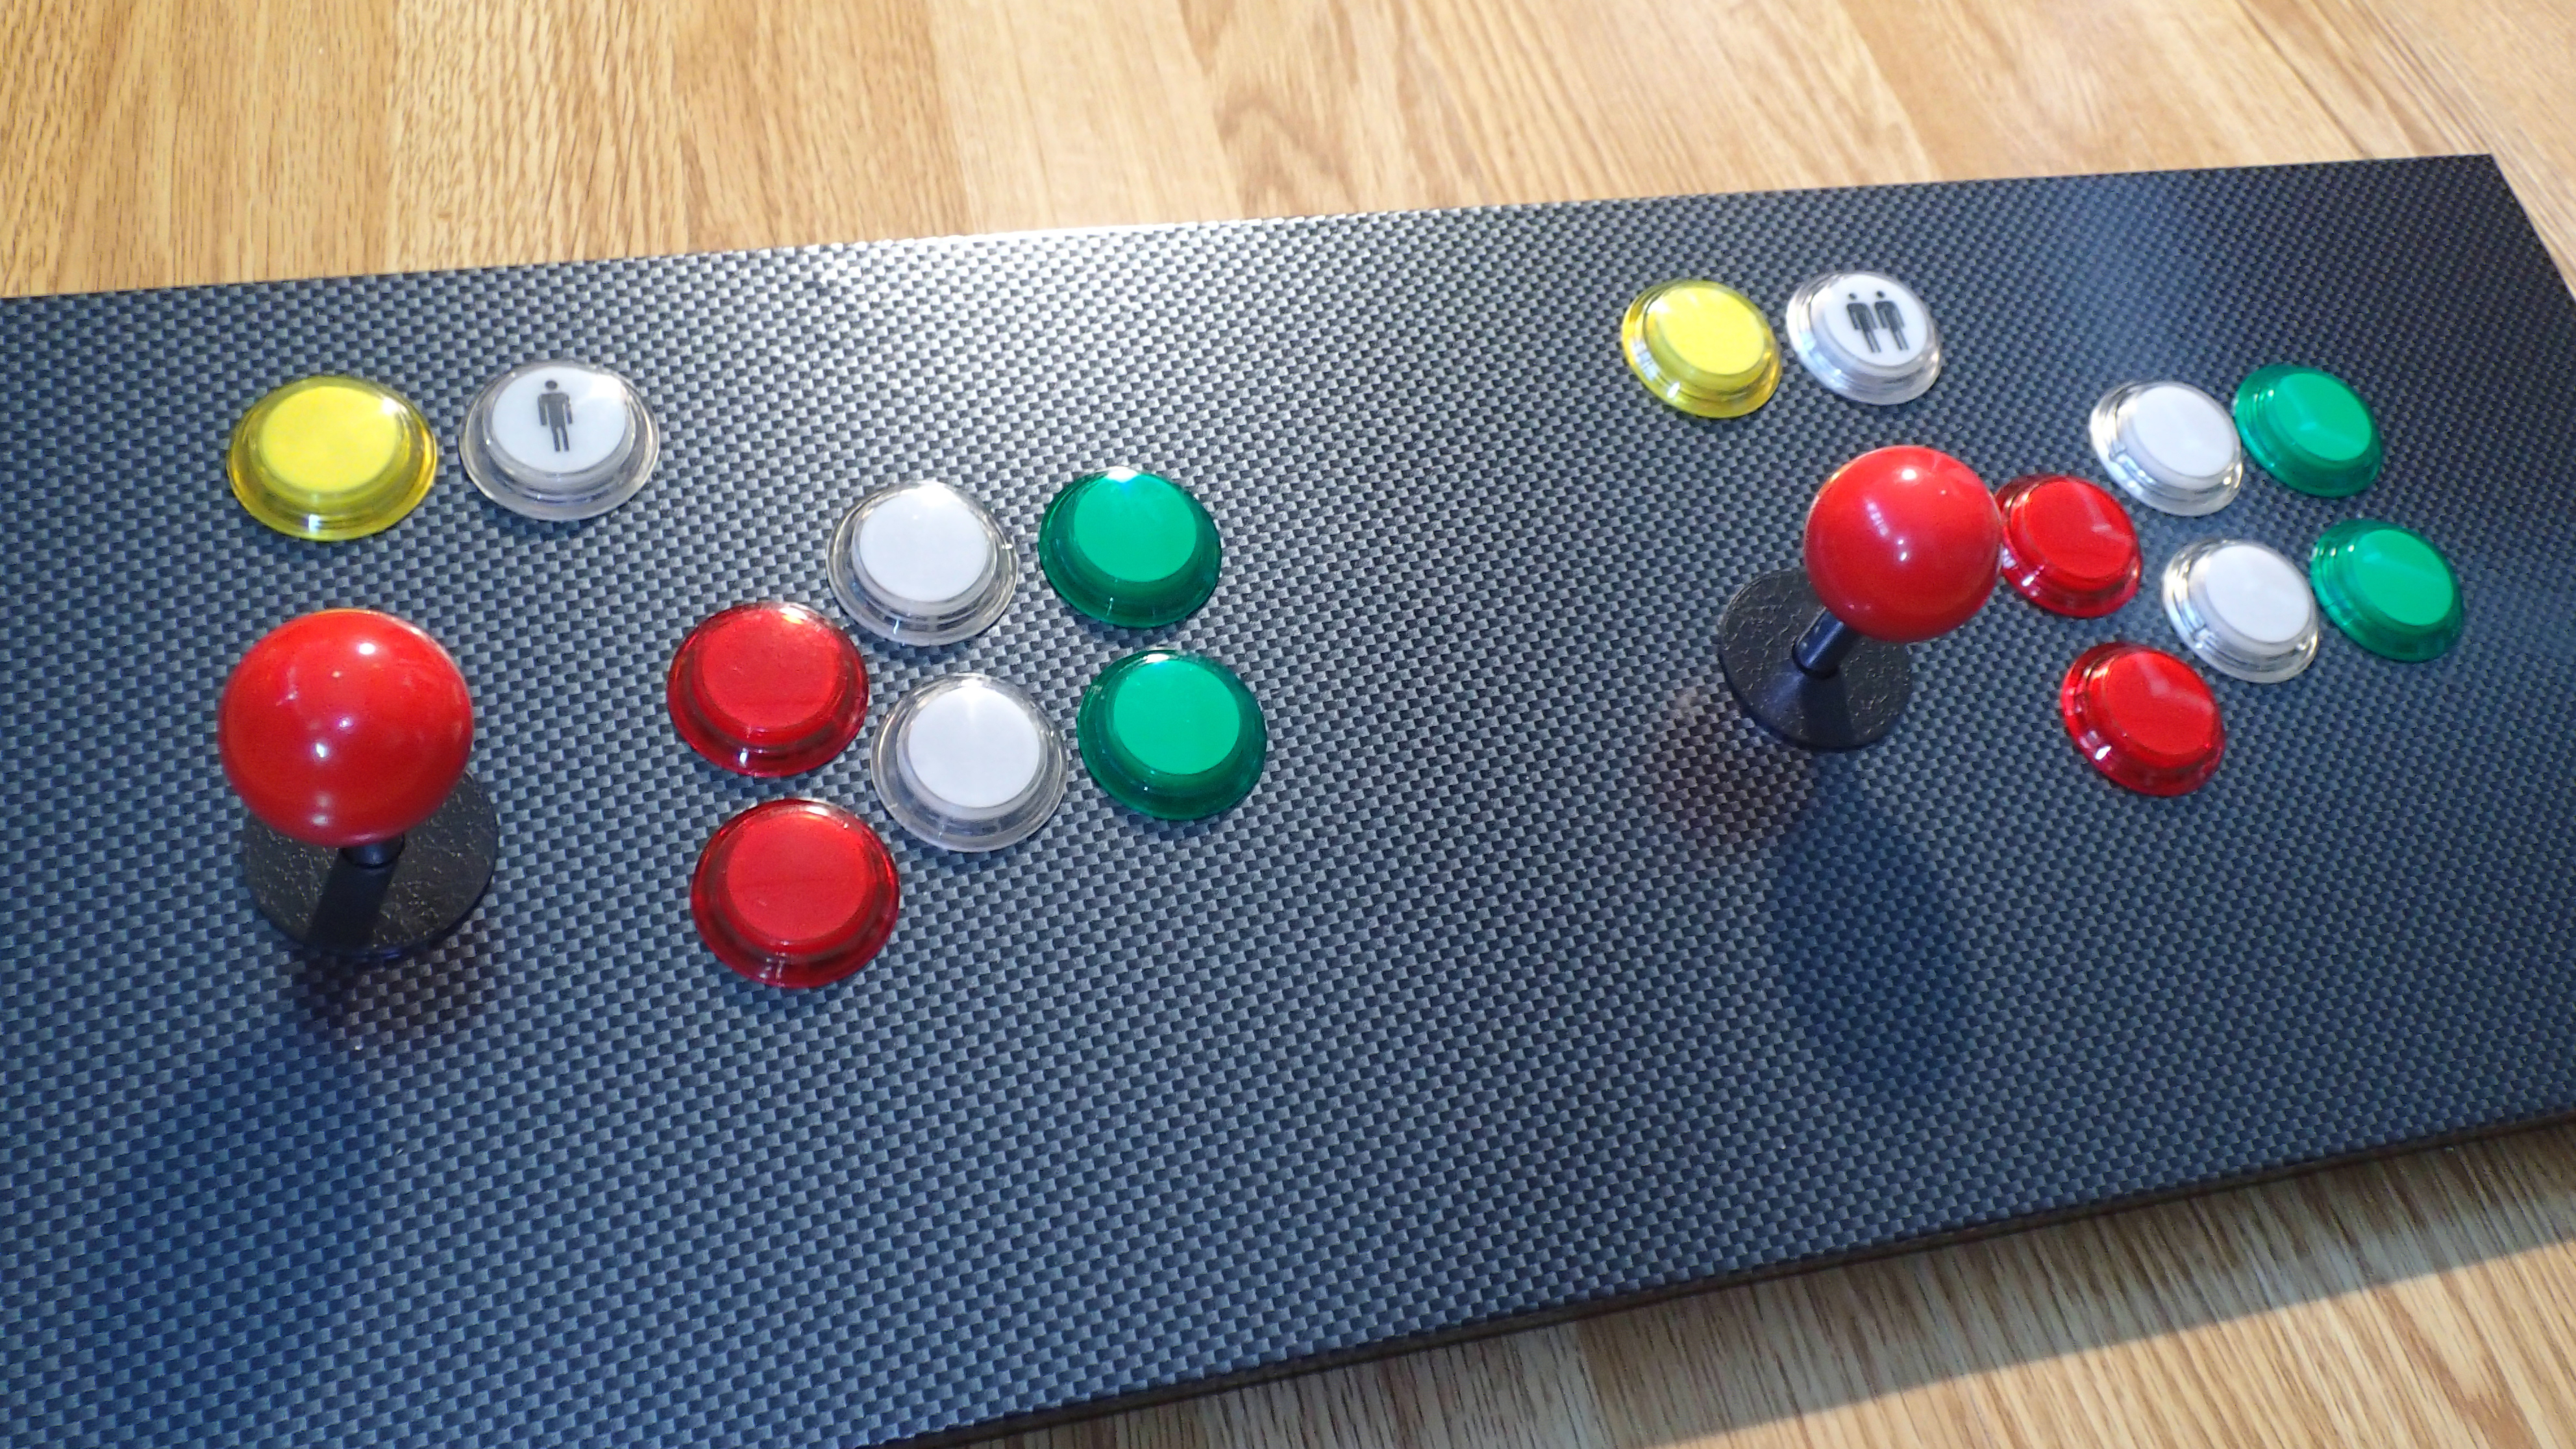
The most important and fun part of the arcade cabinet is the control panel. It consists of two joysticks and eight buttons per player. On the sides of the cabinet there are two additional pinball buttons.
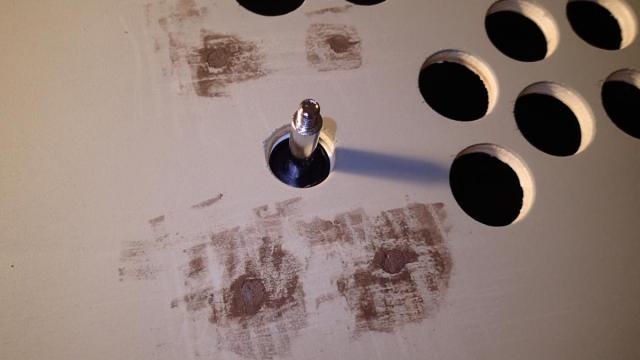
To begin drill 4 holes on the panel that match the joystick layout. I have used 4 mm drill and a countersink to mask the heads of the screws.
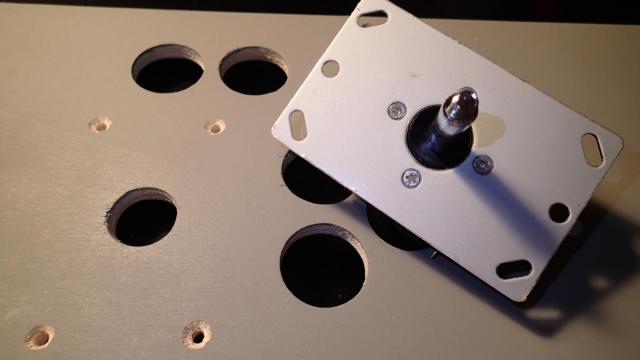
Then attach the joystick with M4 screws. There is also an option to fasten the screws on top of the vinyl layer after you apply it, this way you can easily remove the joystick when it breaks down. But it didn't appeal to me and my thought was that a microswitch joystick will probably not break that easily.
Then mask the screws with MDF or laminate wood filler.
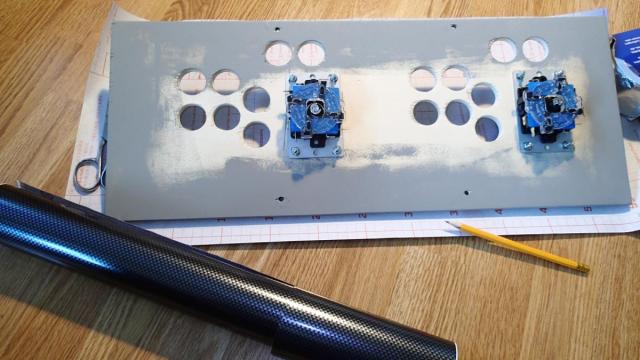
You can now start to apply the vinyl. I have found this nice carbon fiber looking vinyl that matches that RetroPie theme. Mark the vinyl just a bit larger than the size of the panel and cut it.
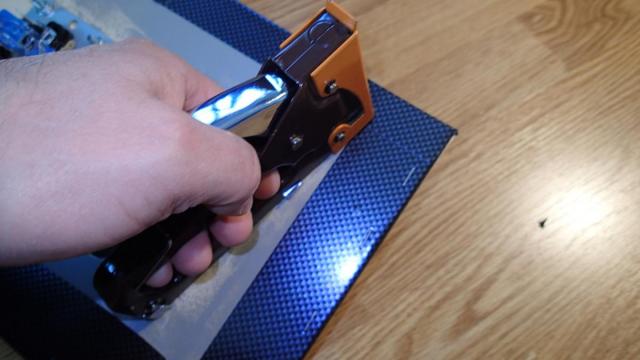
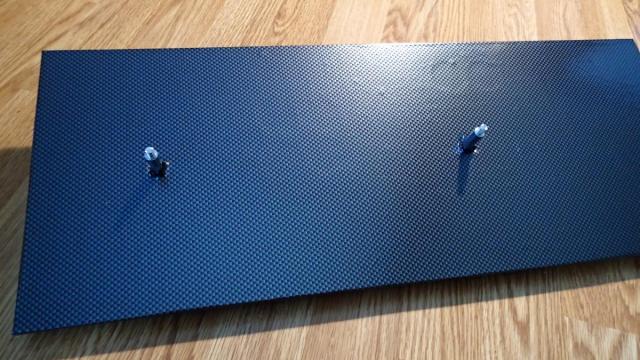
After gluing it to the multiplex board I have stapled it on the back.
At this point the control panel should look like in the picture below.
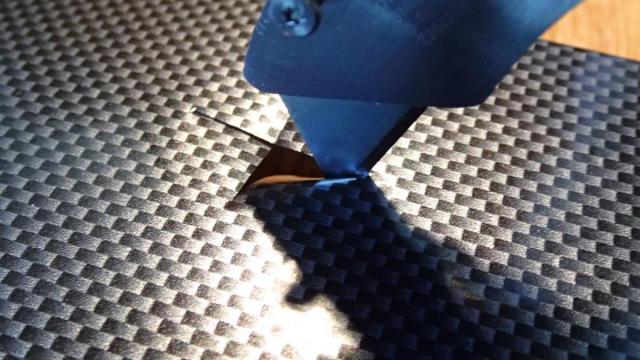
Cut out the the holes for the joystick and the buttons with a stanley knife.
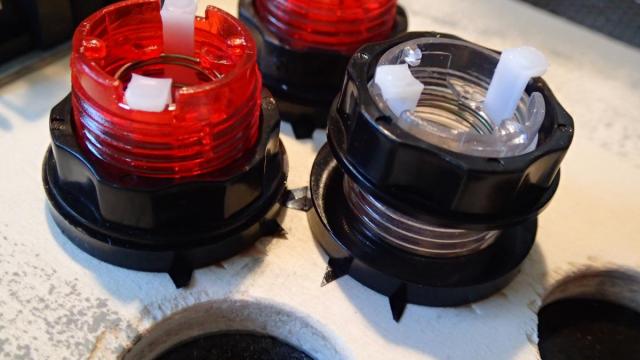
And insert all the buttons.
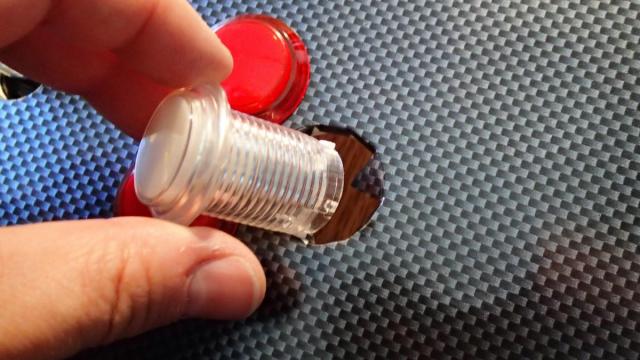
Fasten them on the back with the provided plastic nuts.
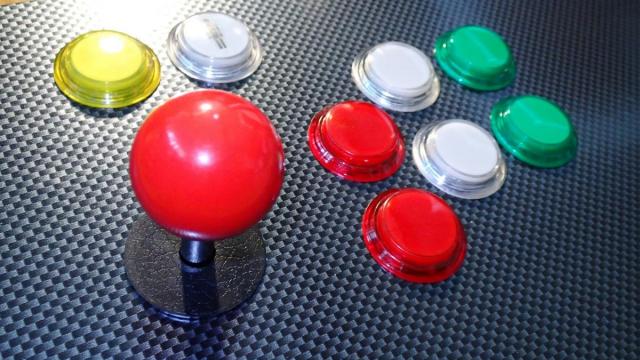
The finished button layout with the joystick will look like this.
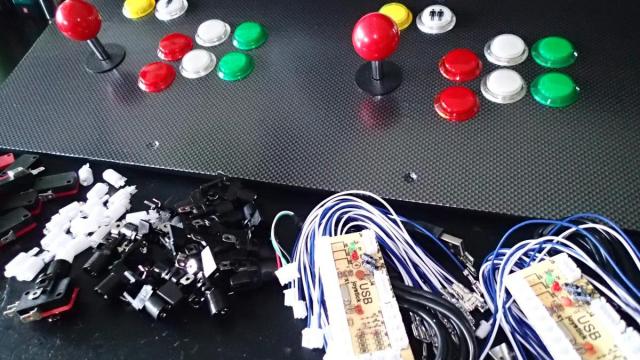
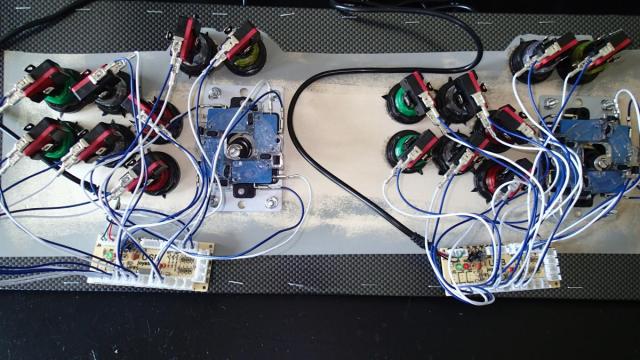
Now it's time to start working on the USB joystick controllers and attach the microswitches, leds and wires to the back of the control panel. I have chosen to use two separate USB controller board. At Chinese online stores they cost around 5 euros each.
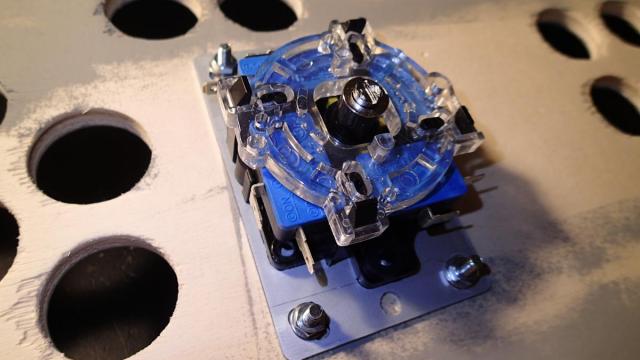
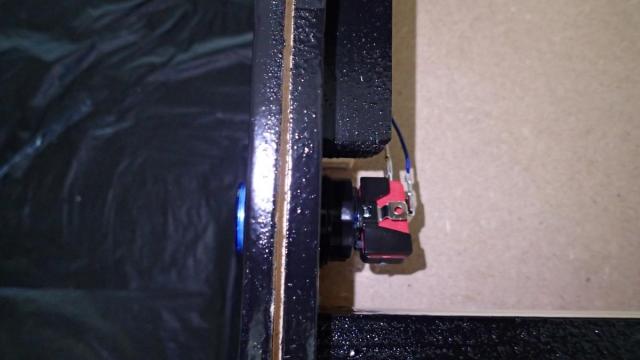
The microswitches consist of a build in LED that can be powered by 12V as it already has a 470 Ohm current limiting resistor soldered to it.
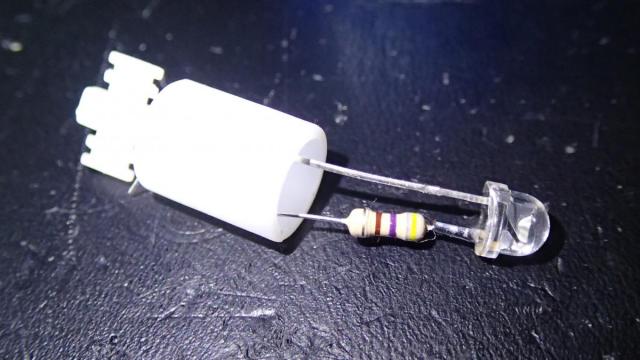
An assembled microswitch looks like this.
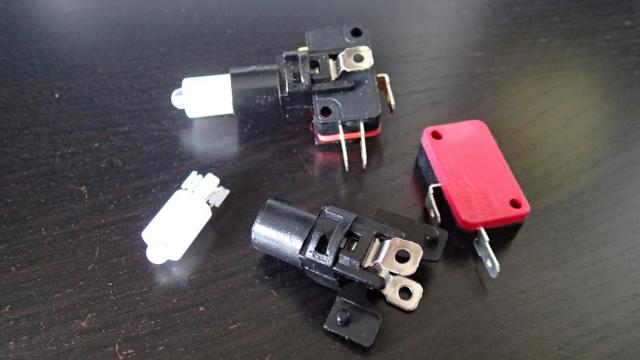
Position the switches in a way that it will be easy to connect the wires.
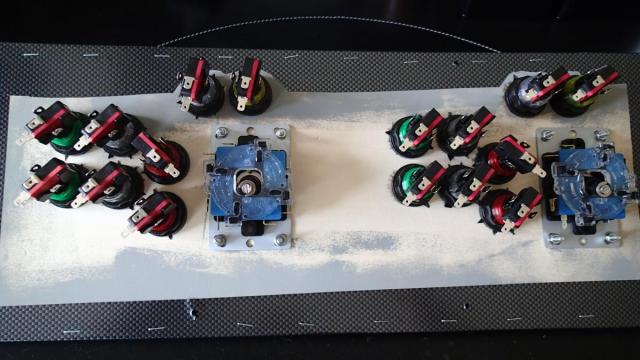
Also connect the pinball buttons on the side panels of the cabinet.
Now connect the buttons to the USB controller boards with provided wires. I have covered this controller board in previous blog posts: Arcade machine - USB controller and USB arcade joystick, there you can find the schematic on how to connect it.
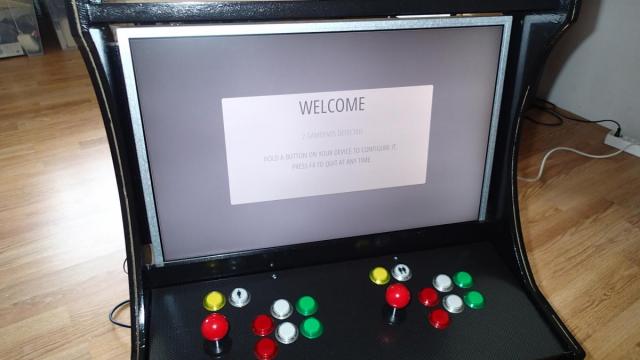
In order to test the working I have attach the screen to the cabinet and connected the USB cables to a preinstalled RetroPie on a Raspberry Pi 3.

RetroPie recognized the controllers without any problems. In future post I will cover in detail on how to install RetroPie.