Our 3D printer is finished, but we still can not use it until we program the Arduino board with software that will control our printer. There are several options for the firmware. I have chosen Marlin.
If you haven't done so already, install Arduino IDE software. Also make sure that you have installed drivers for your Arduino. Chinese Arduino clones need this specific CH340 / CH341 driver. I base my configuration on Marlin version 1.1.0-RC3 release, but I will do my best to port the configuration to the latest version of Marlin, which is at the moment of writing of this blog 1.1.0-RC8.
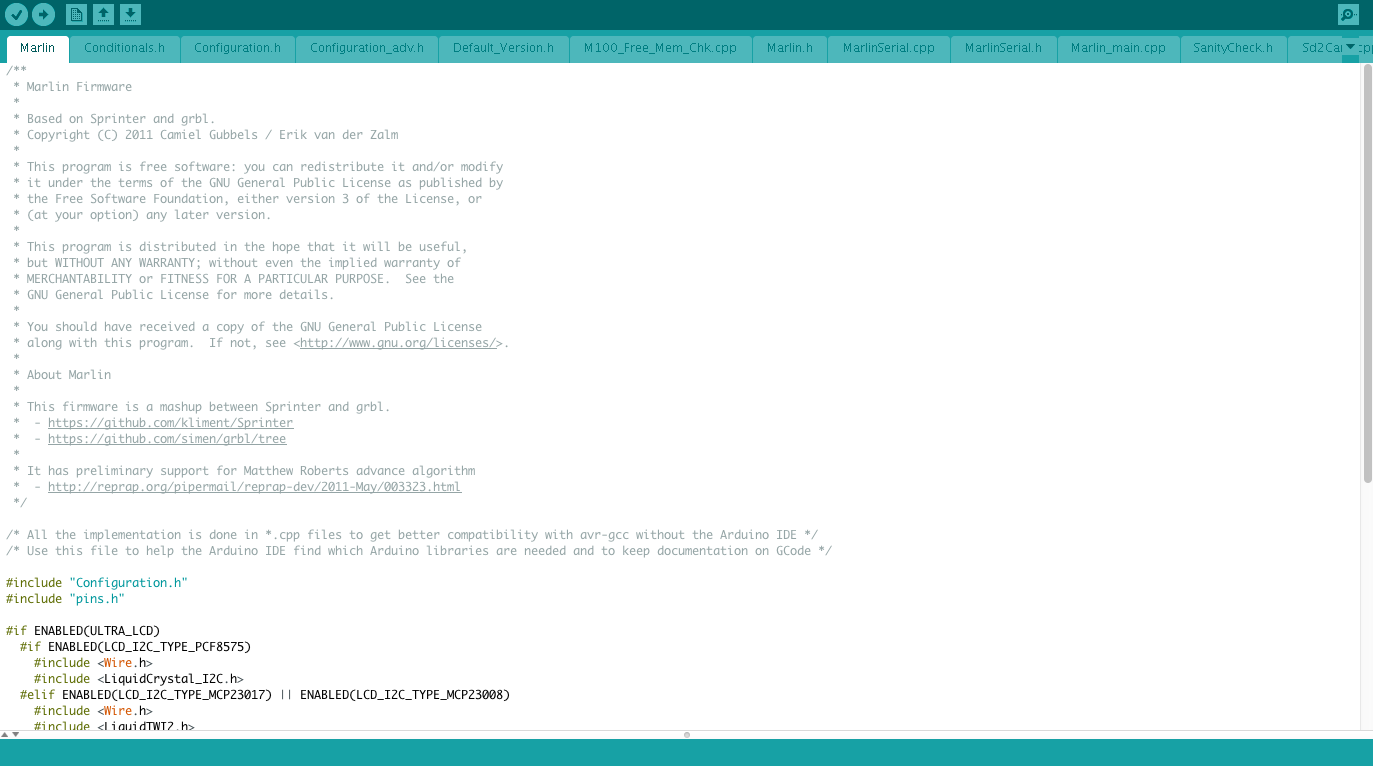
Unpack the downloaded Marlin firmware to your Arduino project directory. You can now open Marlin.ino file in Arduino IDE. Several tabs will open up. First we are going to focus on Configuration.h file. I will mention the line number in the original 1.0.0-RC3 source and what changes I have made.
Line 65. The default baud rate is defined to 250000. My "virtual" com port could handle the maximum of 115200.
#define BAUDRATE 250000
changed to:
#define BAUDRATE 115200
Line 86. This configuration will change some outputs of the RAMPS board to support second extuder.
#define MOTHERBOARD BOARD_RAMPS_13_EFB
change to:
#define MOTHERBOARD BOARD_RAMPS_13_EEB
Line 86. Now we are going to change the number of extruders.
#define EXTRUDERS 1
change to:
#define EXTRUDERS 2
Lines 91-92. Now you have the option to change the offset of the extruders. You can do it here or in your slicer software. The choice is up to you. In my case the offset was:
#define EXTRUDER_OFFSET_X {0.0, -17.80}
#define EXTRUDER_OFFSET_Y {0.0, 0.45}
Lines 148-152. This part can also vary, depending of the thermistor that you are using. In my case it was a trial and error as I did not know exactly which thermistors I had. I guess this is the disadvantage when buying cheap Chinese clones. In the comment section above you can see defines for different types of thermistors. In the end I have come to these numbers:
#define TEMP_SENSOR_0 6 // For thermistor 1
#define TEMP_SENSOR_1 6 // For thermistor 2
#define TEMP_SENSOR_2 0
#define TEMP_SENSOR_3 0
#define TEMP_SENSOR_BED 11 // For heatbed
Lines 334-339. Because the endstop are OFF when in the pressed state, I needed to change the values to the opposite. From FALSE to TRUE.
const bool X_MIN_ENDSTOP_INVERTING = true;
const bool Y_MIN_ENDSTOP_INVERTING = true;
const bool Z_MIN_ENDSTOP_INVERTING = true;
const bool X_MAX_ENDSTOP_INVERTING = true;
const bool Y_MAX_ENDSTOP_INVERTING = true;
const bool Z_MAX_ENDSTOP_INVERTING = true;
Line 379. The invert extruder setting of the second extruder need to be changed, as it is left handed and is turning in the opposite direction. From FALSE to TRUE.
#define INVERT_E1_DIR true
Line 392. Because of a reason that I can not remember, I had changed this setting to FALSE. I could have something to do with the inversion of the endstops. But maybe it's not needed, try to change it at your own risk.
#define min_software_endstops false
Line 590-591. Here you can define steps per unit for X, Y, Z axis and extruder motors as well as the maximum feedrate, which is the maximum speed accepted to the stepper motors. I am using 0.9 degrees stepper motors and 1.8 degrees stepper motors for the extruders.
#define DEFAULT_AXIS_STEPS_PER_UNIT   {160,160,800,94.8}
#define DEFAULT_MAX_FEEDRATE  {300, 300, 2.5, 25}
Line 713. Uncomment this line. This line will enable our LCD 12864 display.
#define REPRAP_DISCOUNT_FULL_GRAPHIC_SMART_CONTROLLER
Now open the file pins_RAMPS_13.h.
Line 155. If you want to disable the beeper of the LCD display change this setting to -1
#define BEEPER_PIN -1
Lines 157-158. If you feel that the rotary encoder is changing the values in the opposite way, you can reverse it by changing these lines into:
#define BTN_EN1 33 #define BTN_EN2 31
We are now ready to compile and upload the sketch to the Arduino MEGA 2650 board. Select the correct Board and Processor in Tools menu and Verify/Compile it. If you don't get any errors you are ready to upload the Marlin firmware.
