After the inside of the mancave was finished it was time to create the power distribution / fuse box that connects all the power wires and lights.
In the previous blog I have described the process of building of the inside of my mancave and now I want to give some attention to the box that can be considered as the brain of it.
All the devices inside my box are mounted using a 35 mm DIN rail. There are a lot of gadgets that you can mount on this rail. Among which are standard circuit breakers, power meters, relay switches but also Arduino and Raspberry PI mounts.
In order to create my own I have stared with the creation of a box from 9 mm multiplex boards. The dimensions were: H:71 x W:37 x D:14.5 cm. I wanted to make sure to have enough room for future expansions. I managed to place 5 rails in the length of 30 cm.

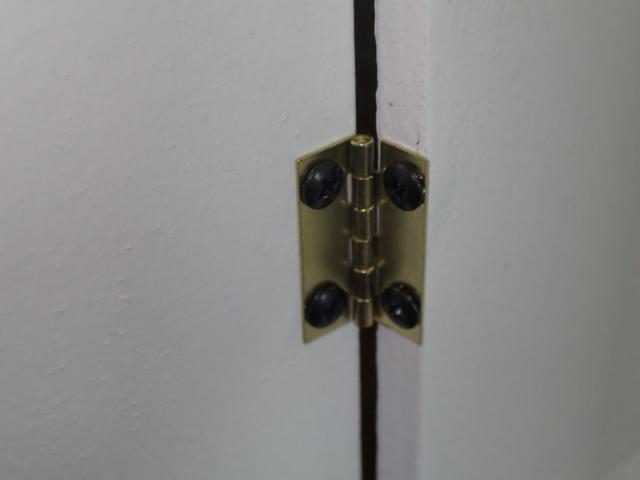
The door were also made from 9 mm multiplex board, and to match the walls of the mancave I have decorated it with the fiberglass wallpaper. Then I installed small hinges on the inside and a magnet so it could close.
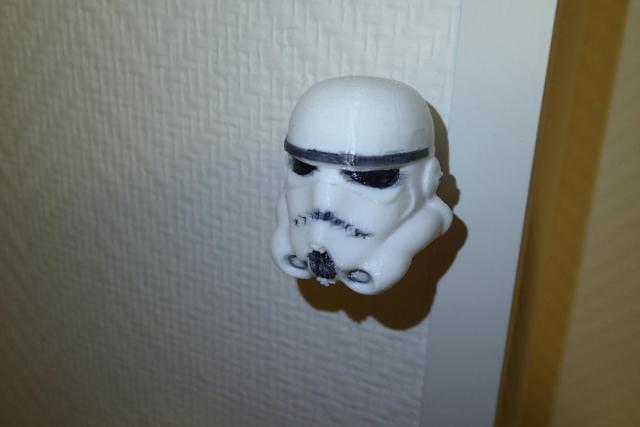
The cabinet door knob is a 3D printed stormtrooper helmet.
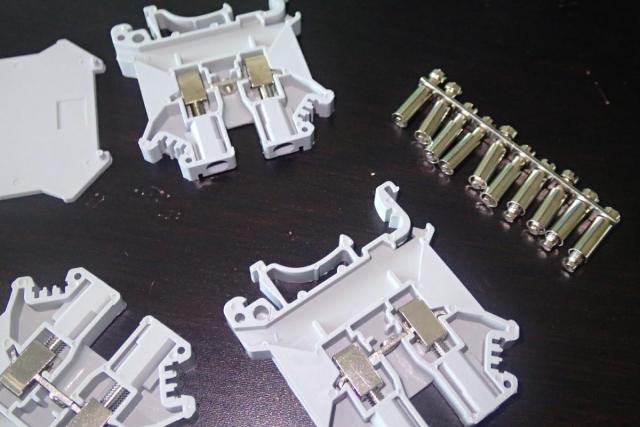
Now it was time to connect all the wires. To connect them I have used din rail universal terminal blocks UK-3N (gray and blue). The blocks for live and main wires were connected together using FB1 center contact short circuit. The ground wires were connected with a kind of vertical terminal blocks.
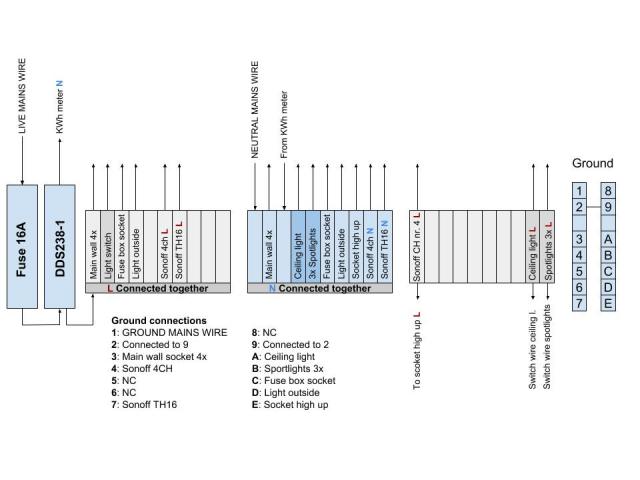
Below you can see the schematic that I have used to make the connections. Main power is going through a 16A fuse and the KWh meter to the rest of the connections.
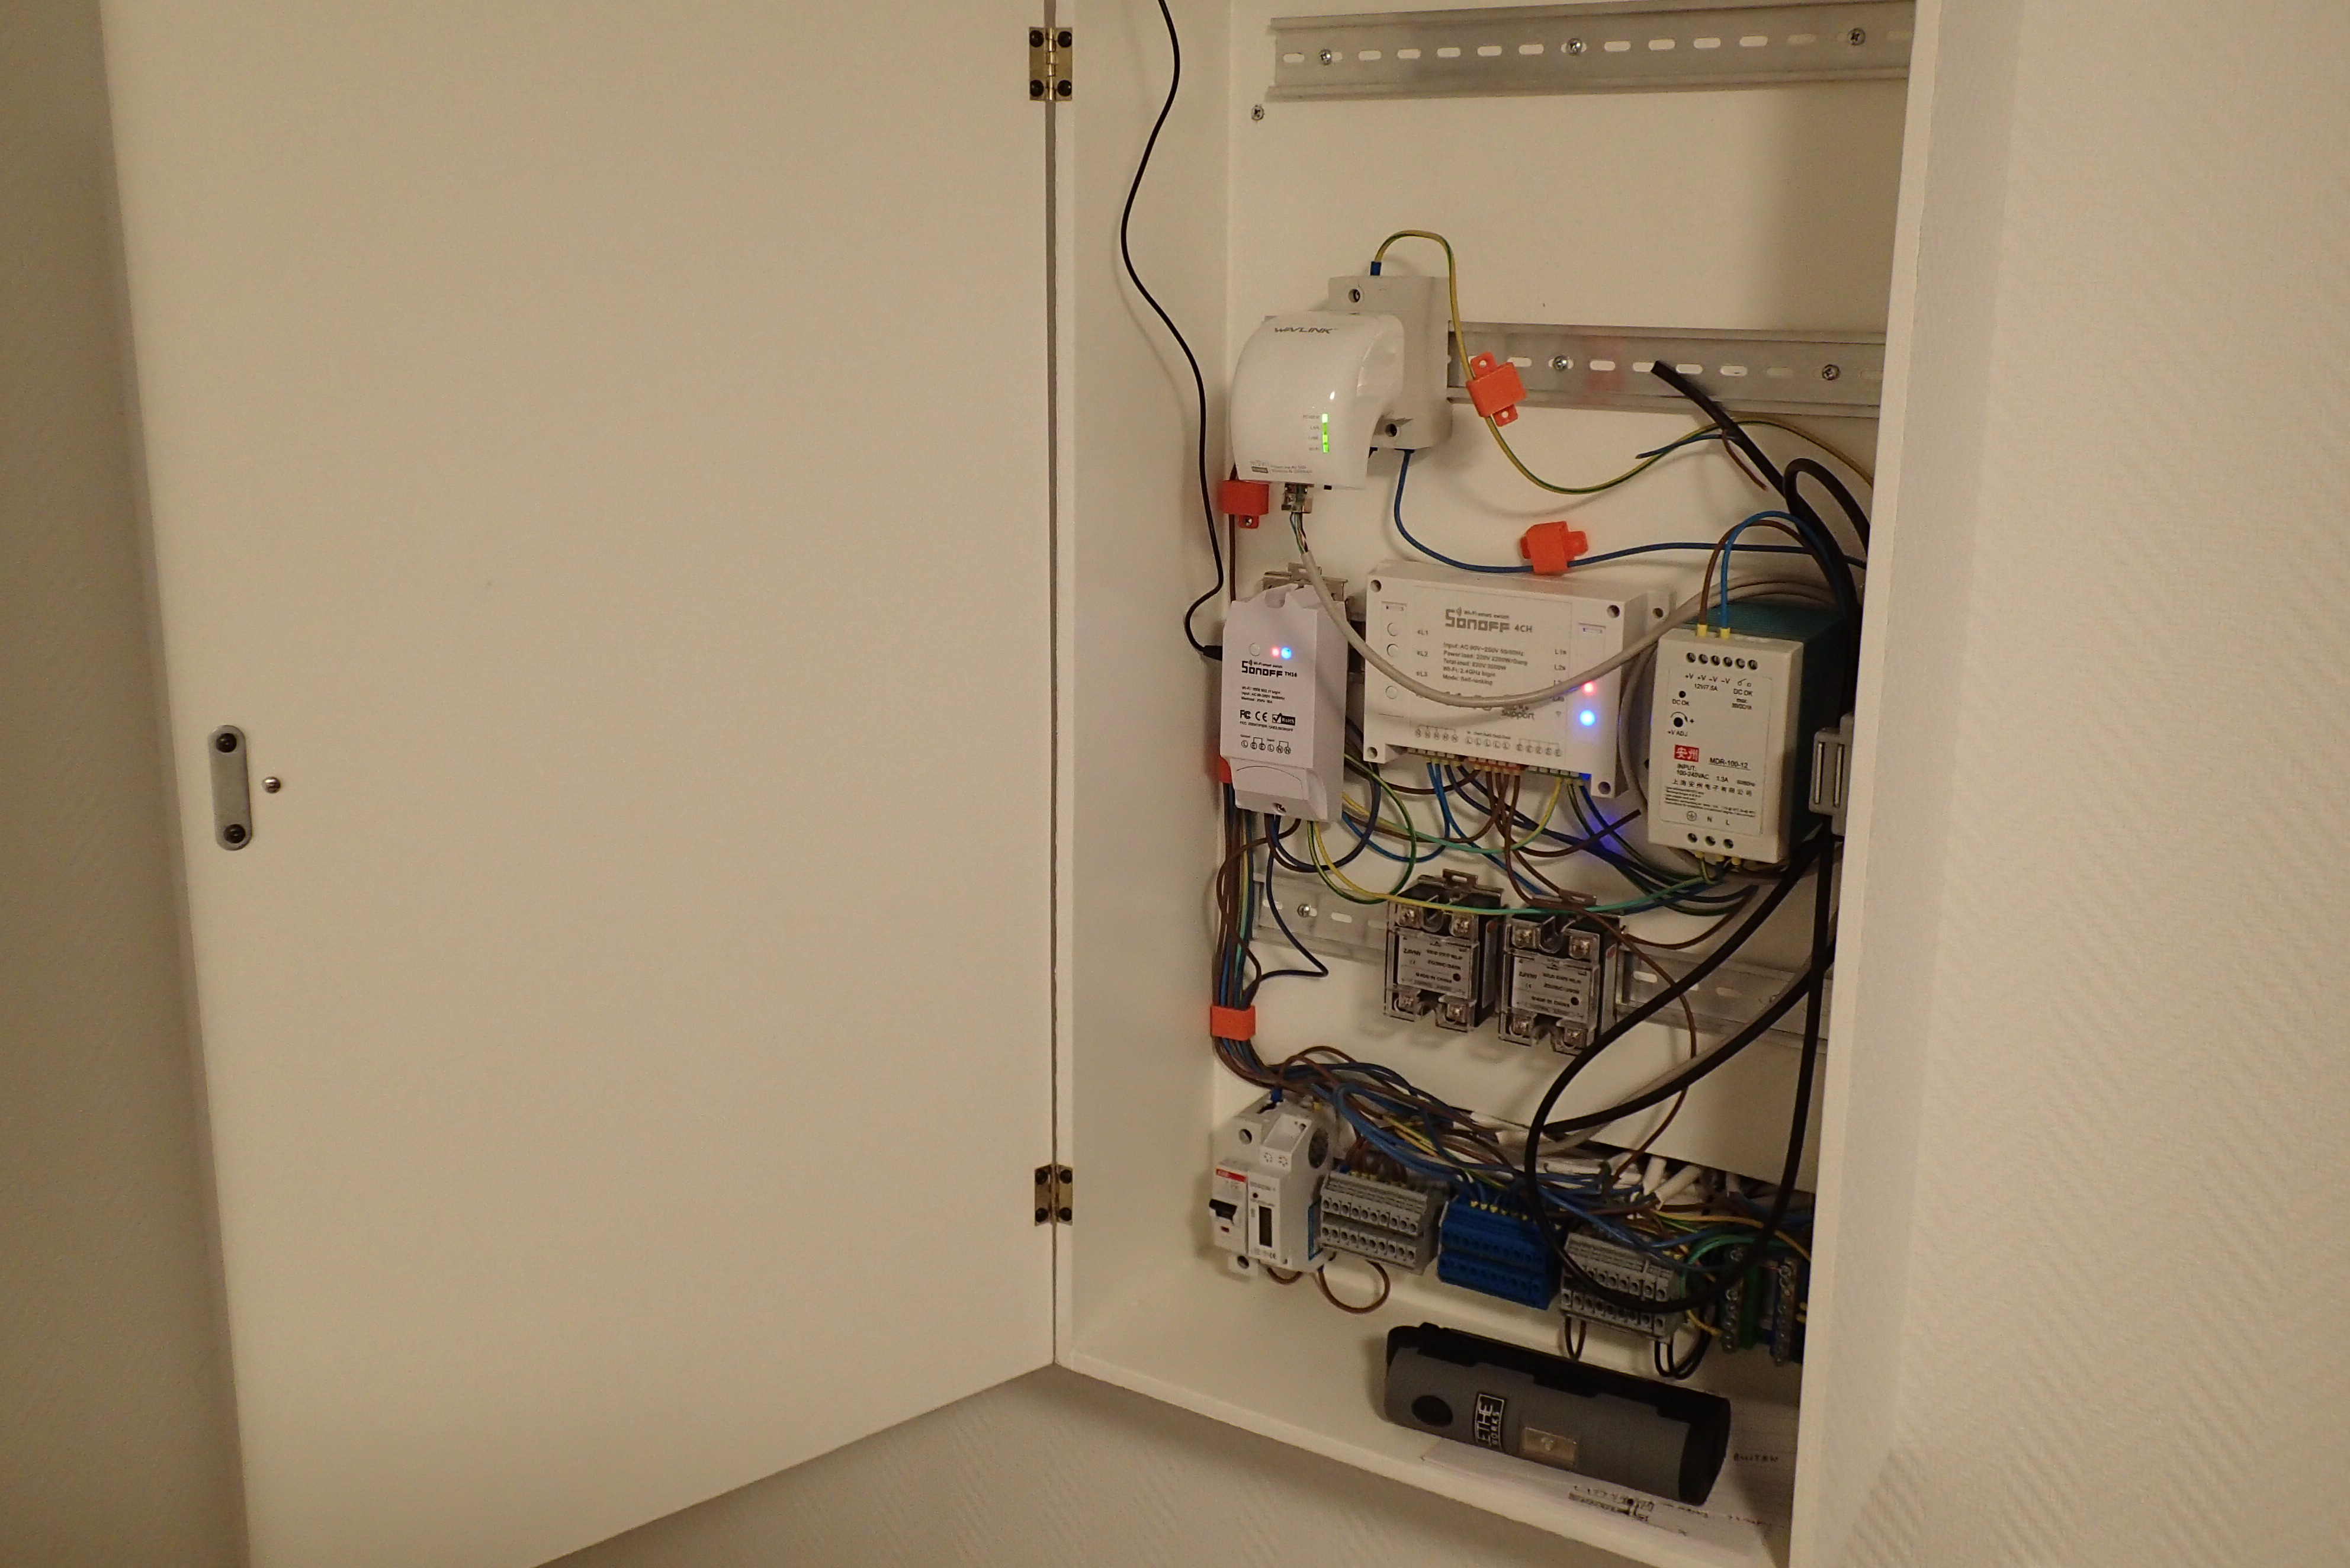
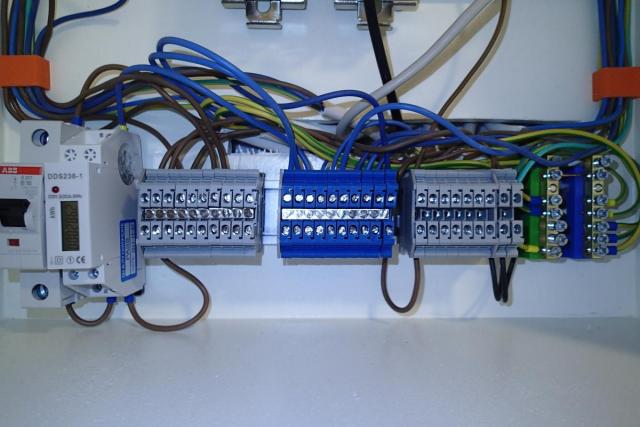
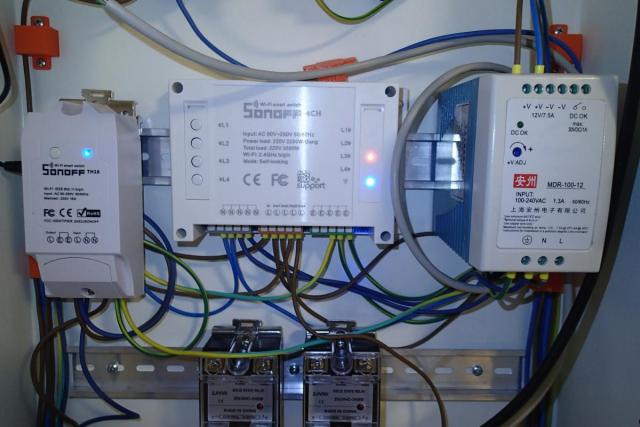
And this is how it looks after everything is wired.
To the socket that is inside the fuse box I have connected Wavlink AV500 powerline extender. Next to wifi, it has an ethernet output. This comes in handy as I have created an ethernet socket in one of the walls and it can be connected though an extension cable for wired LAN access.
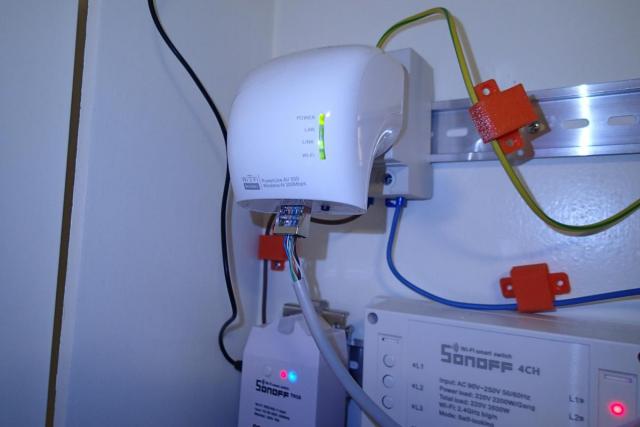
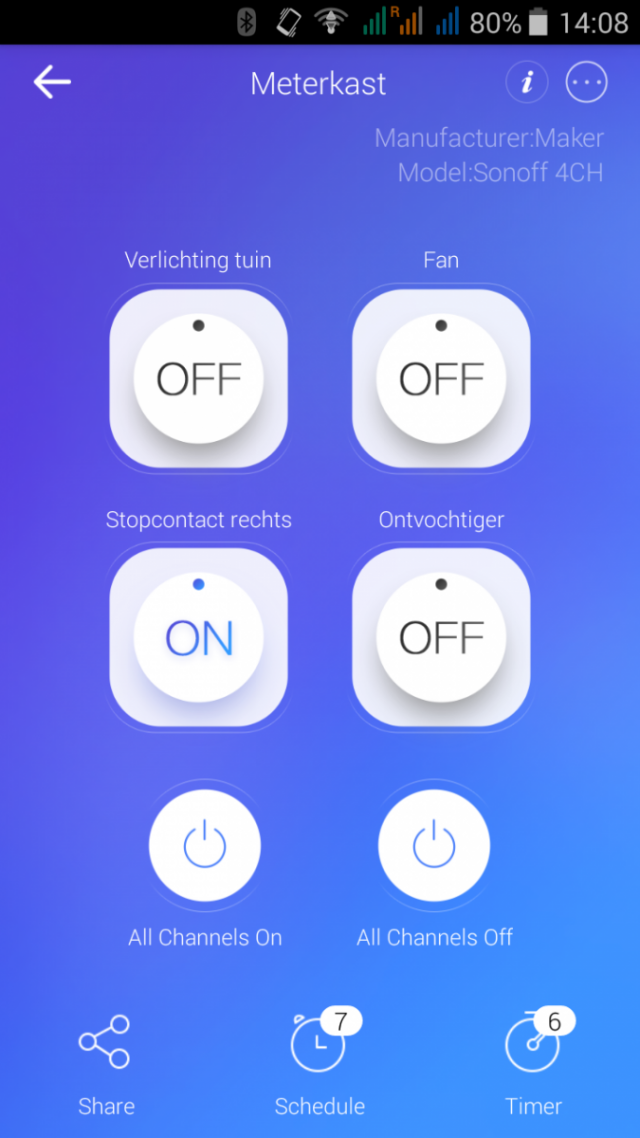
As you have probably noticed there are wires connected to Sonoff 4CH and Sonoff TH16 devices. Through the 4CH Sonoff I am controlling outside garden lights (though a 12V din tail transformator) (Channel 1), the outdoor fan (CH2), Another socket wall (CH3) and the dehumidifier (CH4).
This screenshot shows the eWeLink controlling app, where you can switch and schedule all the channels. The schedule is limited to 8 entries for all channels, so it's a bit limited.
The heater is controlled with the TH16. Although it is possible to control the on/off cycle with temperature I have found it a bit limited as you can not connect this sensor to any schedule.
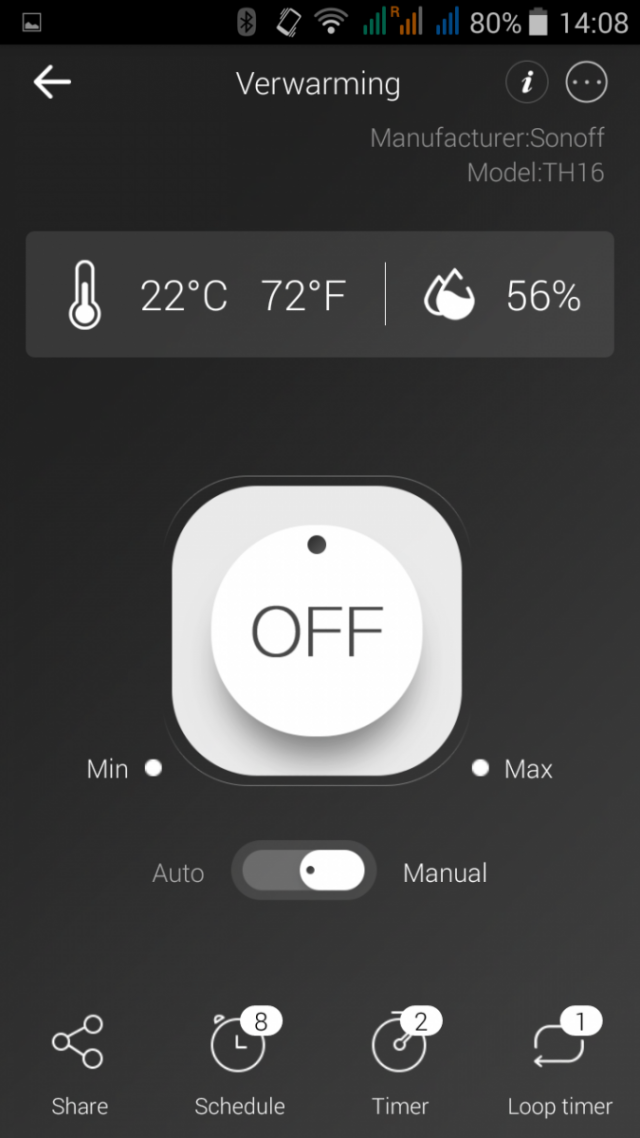
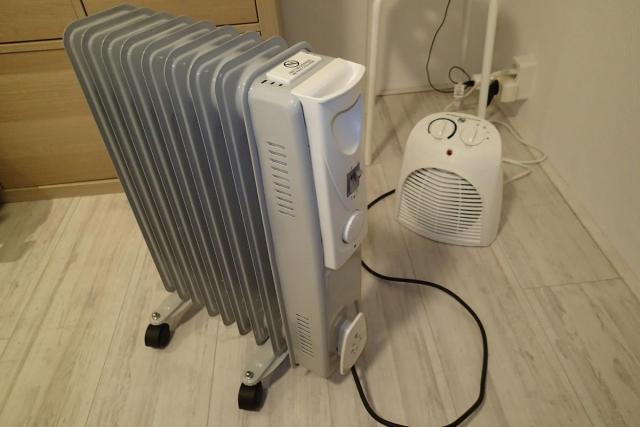
Now in the winter I have set it up for a cycle and interval loop timer. Every 3 minutes I am turning on the electrical oil filled heater (1200 W) for an interval of 1 minute. I found that it keeps the temperature around 21 / 22 °C.

At night I am connecting a fan heater that blows hot air at 800W in a cycle of 20 minutes and an interval of 3 minutes. This keeps the temperature at night at around 12 °C. The picture below shows both of the heaters that I am using. A big disadvantage is that I need to manually switch the heaters and change the cycle inside the eWeLink app.
I have also created a spreadsheet that calculates the costs of using the heaters. It's an LibreOffice Calc file.
I did not modify the firmware of the Sonoffs and run it though the default eWeLink app. However being dependant on the Chinese servers is not without problems. When the servers are offline (and this happened a couple of times) you can not control the devices and are shut out. Also the controlling app for the TH16 (which includes a temperature and humidity sensor) does not offer much options. So my next project will be probably the installation of Tasmota firmware. In the future versions of the fuse box I am also planning to use Rasperry PI as a server and the usage of MQTT protocol. I have already started by printing an din rail mountable enclosure for it.

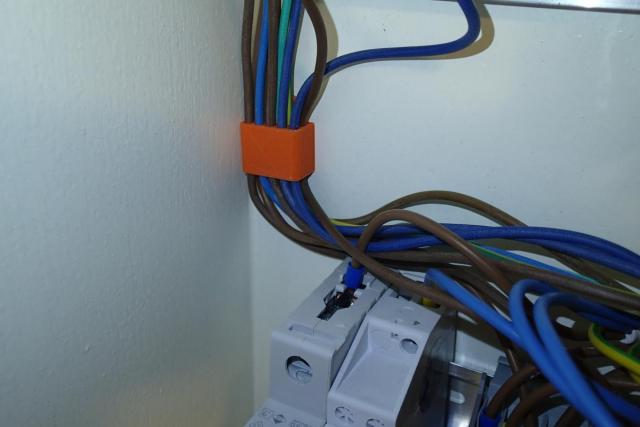
You might be also wondering what are these orange blocks inside the fuse box. This is my custom designed and 3D printed part that I though would be helpful in leading the wires and leave the fuse box neat and tidy. Feel free to download it from the Thingiverse website.