My Mac Mini from late 2012 started to get slow due to constant reads and writes of the mechanical hard disk. It was time to upgrade it with an SSD drive. I took some pictures during this upgrade to share in this blog post.
A while back I upgraded my system to 16GB, but was still experiencing hard disk reads and writes that slowed down the system. Next step was to upgrade the hard drive to SSD. I didn't look forward to this as almost the whole Mac mini had to be disassembled, but finally took the step to do this. It turned out to be easier that I expected.
Before the hard disk upgrade you will need to create a bootable USB stick with macOS. I am running Mojave 10.14.6 on my Mac mini, so the instructions below are based on that version of macOS.
At the time of writing this blog post macOS Mojave can still be downloaded in the Apple App Store. They can probably be still applied to future versions of OSX.
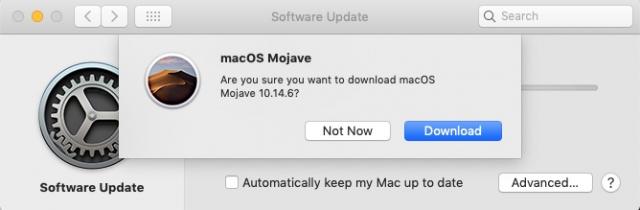
First click on the "View in Mac App Store" link on the webpage so the App Store will be opened. Then on the App Store page click the GET button. You should see this pop-up that will let you download it. The file size is 6,04 GB.
After the download is finished the file will be placed inside /Applications folder as Install macOS Mojave. Do not proceed with the installation, but first follow the instructions below to create a bootable image on a USB stick.
First insert a USB stick (mine had a size of 32GB, but 8GB should be enough) and format (erase) it with Disk Utility as "Mac OS Extended".
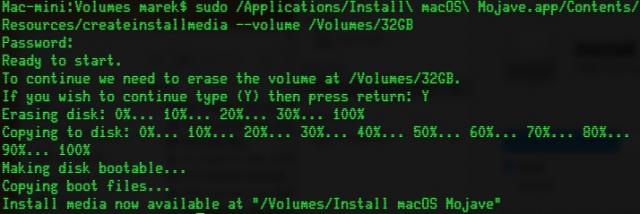
Then inside the Terminal execute this command (replacing the MyVolume with the name you have given to your USB stick during the format):
sudo /Applications/Install\ macOS\ Mojave.app/Contents/Resources/createinstallmedia --volume /Volumes/MyVolume
It should look like this:
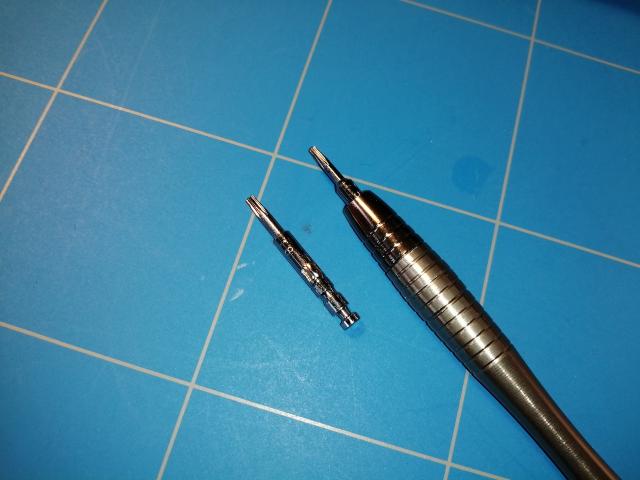
Now we can proceed with the hard disk upgrade. For the job you will need 2 Torx screwdrivers. T6 and T8.
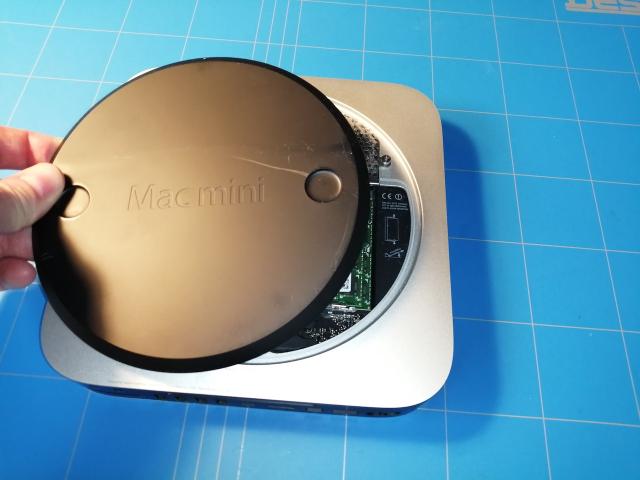
First flip your Mac mini and twist the round black plastic cover counterclockwise to open it up.
Now remove both screws of that hold the cooling fan.
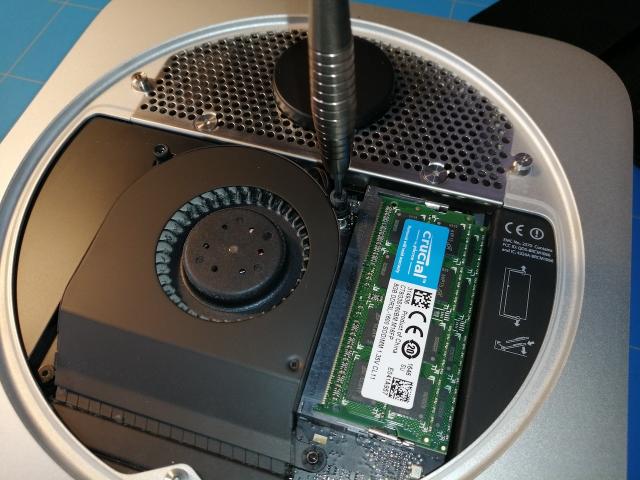
And pop the connector.
Next remove the two screws that hold the black cover on the side and carefully slide it out.
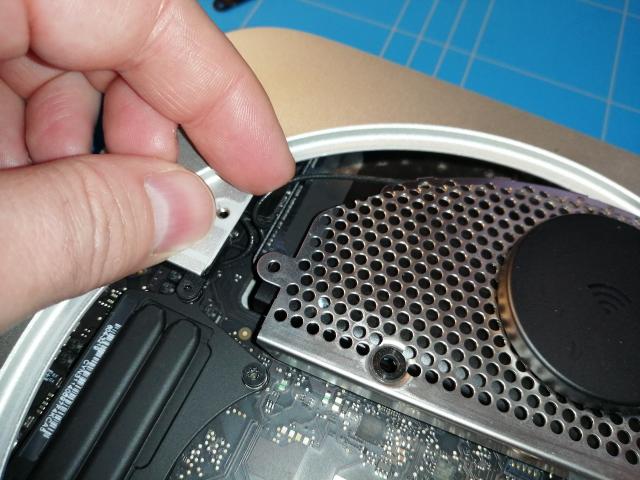
Then remove 4 screws that hold the metallic mesh shield and tilt it up.

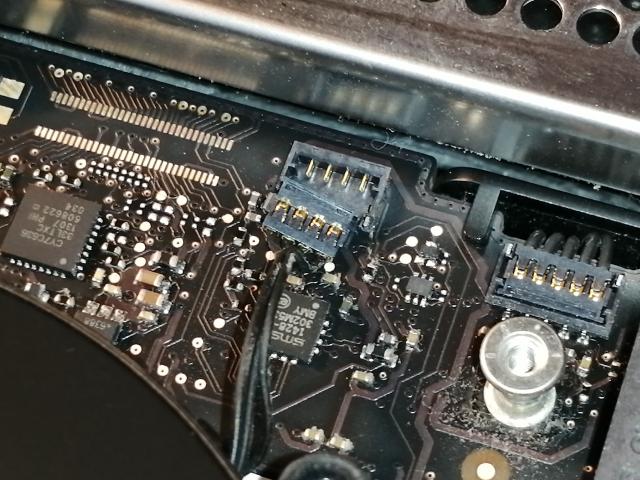
This part is a bit tricky as you will need to remove the connector of the WiFi antenna.
It is located under a plastic cover that you can be lifted up. The connected should easily pop off.
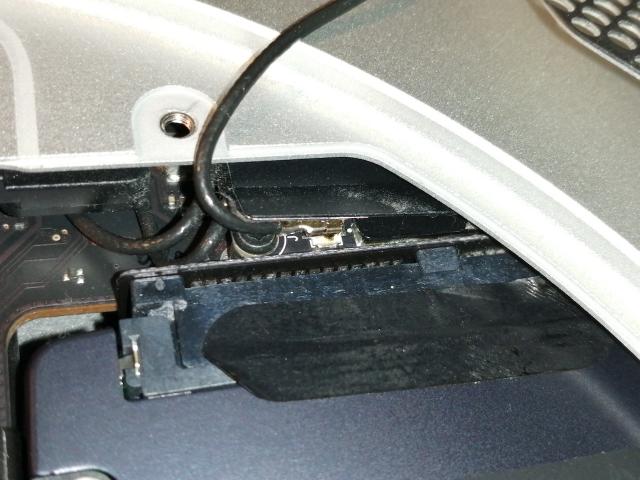
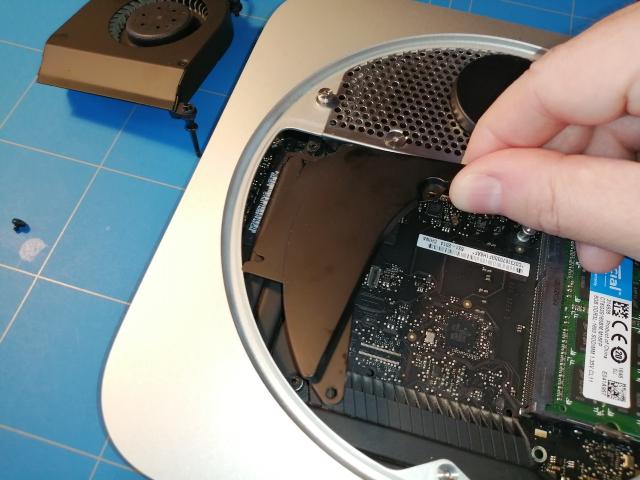
Disconnect the hard disk connector.

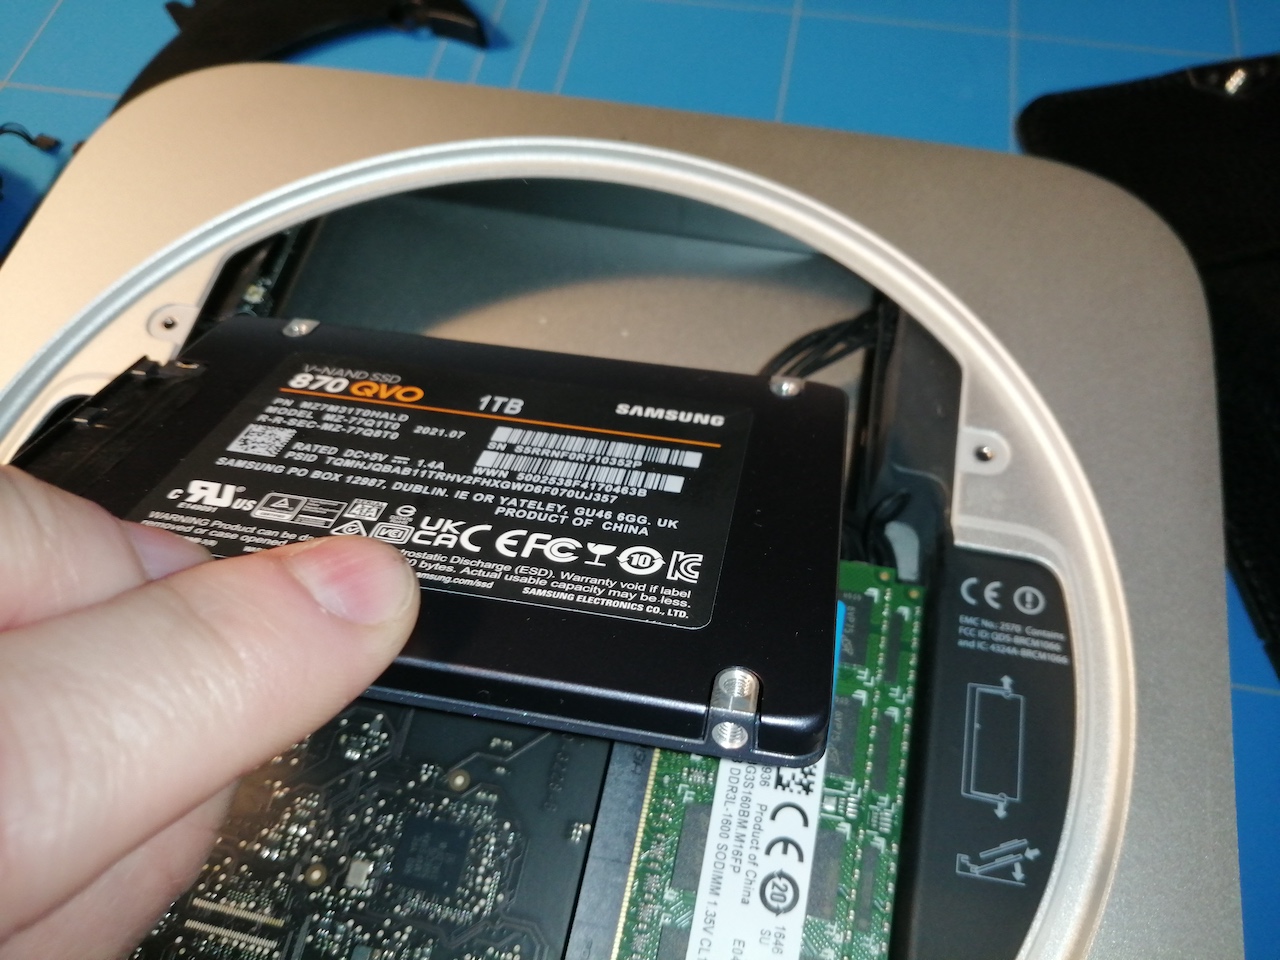
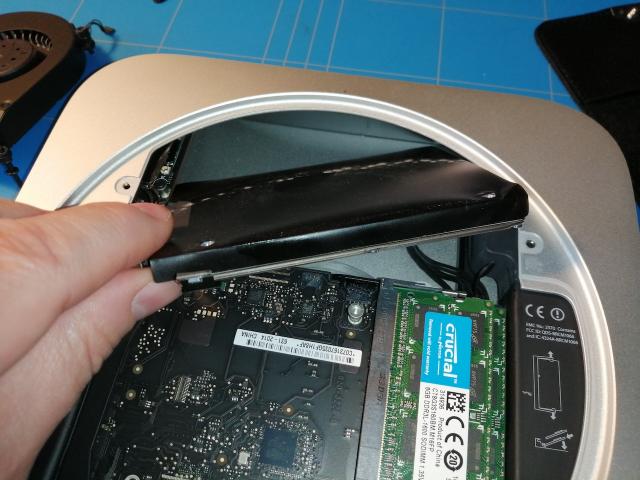
Lift and slide the hard disk out of the computer.
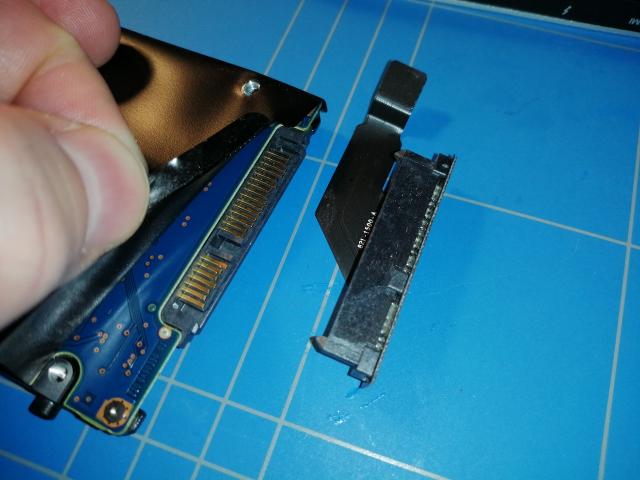
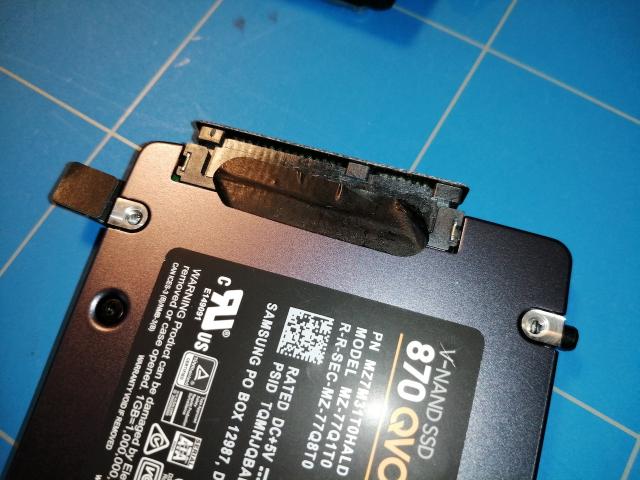
Now carefully peal off the black tape that holds the SATA connector and remove it. You won't need the plastic cover, but keep the black adhesive tape.
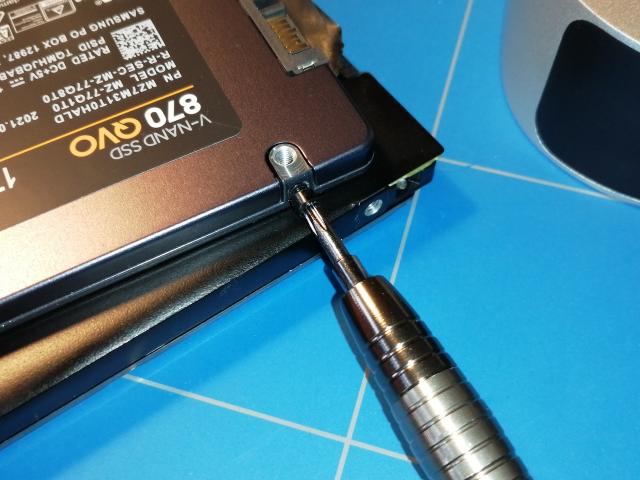
Remove the 2 screws on the side of the hard disk and screw them back to the new SSD hard drive.
Reattach the connector to the new hard disk and reapply the black tape to hold it in place.
Insert the SSD hard disk by carefully sliding it inside.
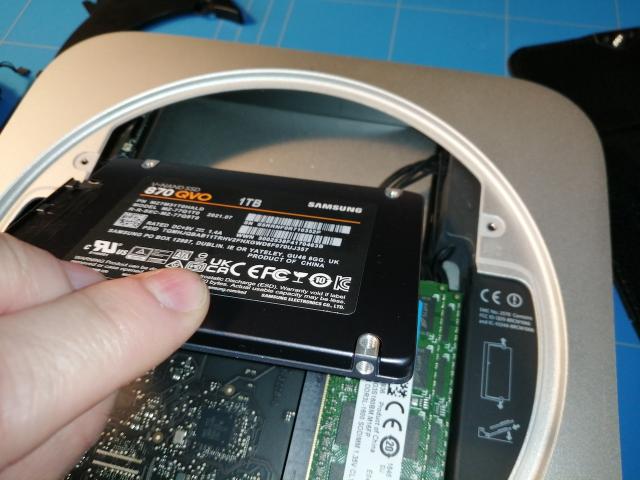
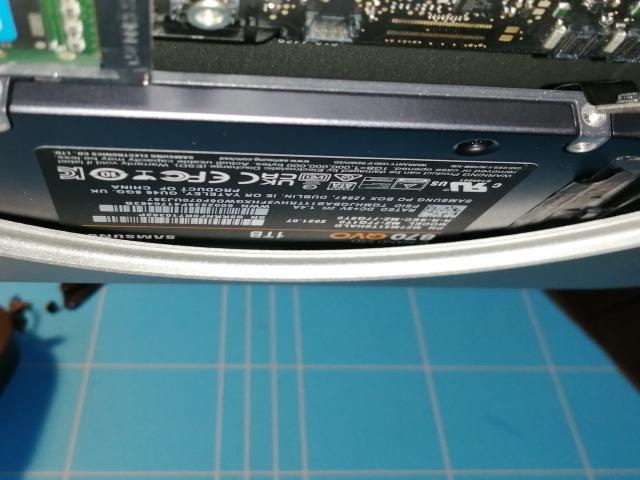
There are 2 holes on the top where the screws on the side of the hard disk will hold it in place.

I have flipped the Mac mini so the gravity could help a bit.
Reassemble everything so you can proceed with the installation of the macOS.
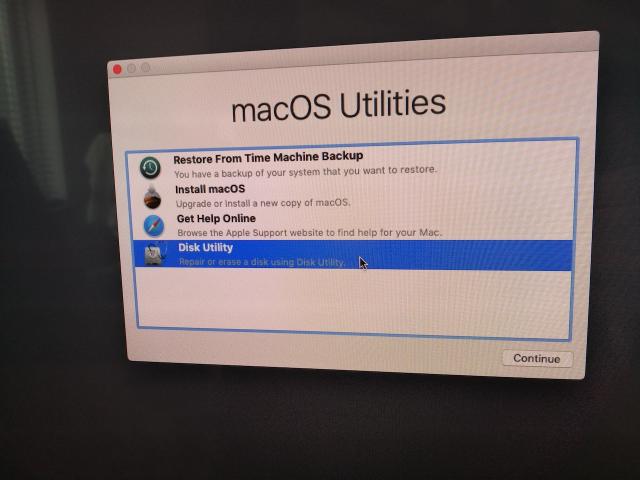
Insert the USB stick holding macOS Mojave and turn it on. After a while the macOS Utilities should pop up.
First select Disk Utility to format the SSD drive.
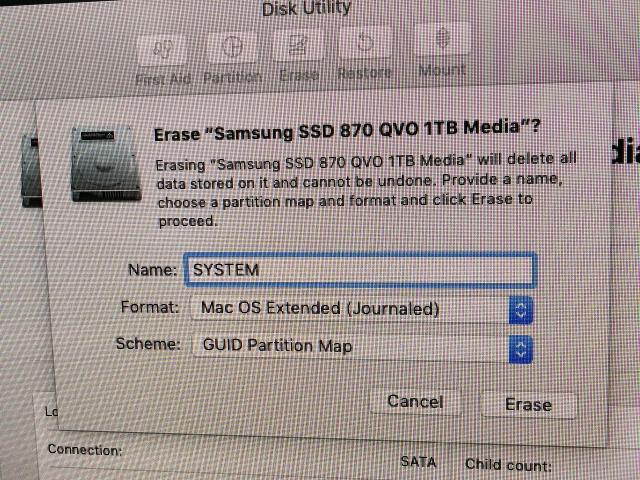
Select the new hard disk and Format it as Mac OS Extended.
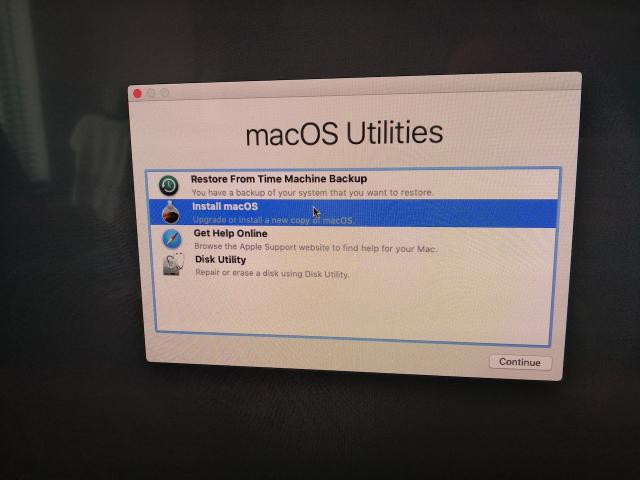
Go back and proceed to install MacOS.
Select the hard disk icon and follow all the steps to install macOS.
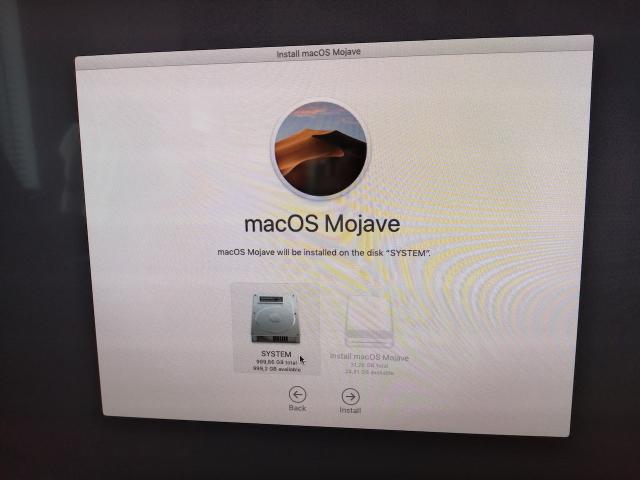
After a some time macOS should be installed.