This blog post takes a closer look at the Macintosh Plus and show how to create a System Boot floppy disk. Besides that it also shows how to get some software to run on this computer.
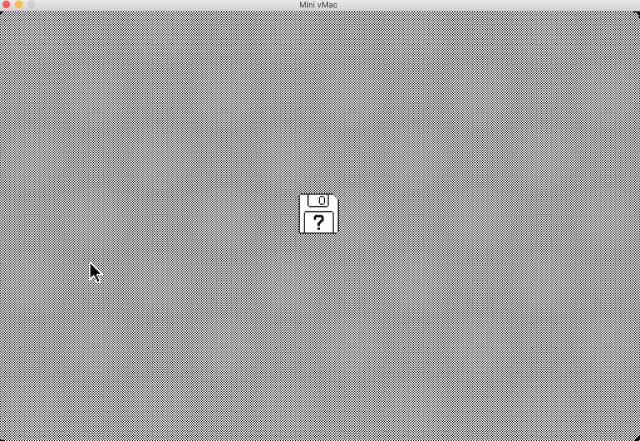
When you turn this Mac on it will just give you this icon with a question mark expecting a suitable operating system boot disk. If you don't have it, you won't be able to do anything with it. If you are lucky, you might have an external hard drive that has already been preinstalled with a suitable OS and boot from it.
In order to boot into the operating system you need a Macintosh System 6 boot disk. It is possible to find one on ebay or some other place, but it is also an option to create one yourself. For that purpose I will be using a Power Macintosh G3 which is running OS 9.2. There might be other ways to do this, but this method proved to be working for me.
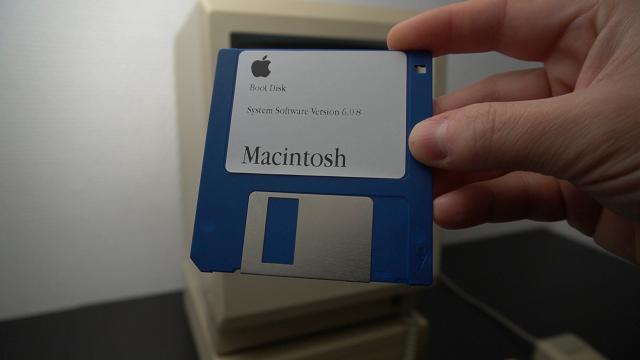
The Macintosh Plus was released with a 800K disk drive, so you could only use Double Density floppy disks. This floppy drive also uses variable-speed while reading and writing to the disks. You can hear that while you are formatting the floppy disk. This is also the reason that only a Macintosh that is equipped with such a drive (like this Power Mac G3) will be able to successfully write disk images that can be read back by the floppy disk that is inside the Macintosh Plus computer.
To start with we are going to download the System 6 boot floppy disk image from the internet by using a modern computer. This is the website of the Gryphel Project. The goal of this project is to help preserve software that was made for early Macintosh computers running on Motorola 68000 processors. That includes the Macintosh Plus software and links to download System 6.0.8 can also be found here. Actually the disk images are still hosted on Apple's website. According to this page the license is free, but you can not re-distribute.
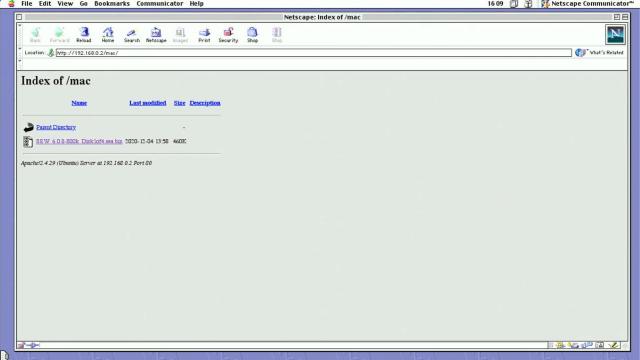
Then we will need to transfer that file to the Power Mac G3. I did not dive into Apple networking on how to transfer the file, but instead I have created a web server on my local network and copied the file there.
On this Power Mac we can access the web server and download the file using an old web browser. In my case I have used the good old Netscape Navigator. Note that the website needs to be hosted on an unsecure http domain, otherwise you won't be able to connect to it using this old web browser.
In order to get our downloaded file onto a floppy disk first we will need to extract it on our Power Mac using Stuffit Expander. This will produce a self executable file. When we double click on it the disk image will be written to our desired location.
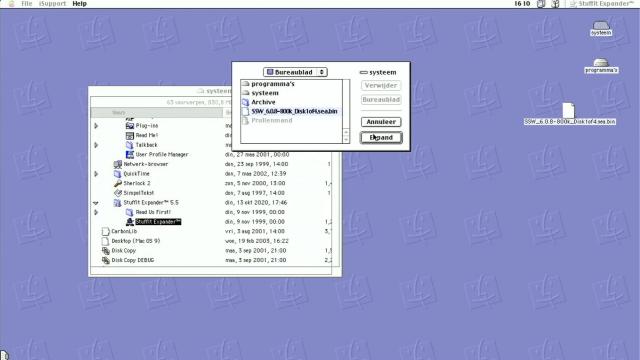
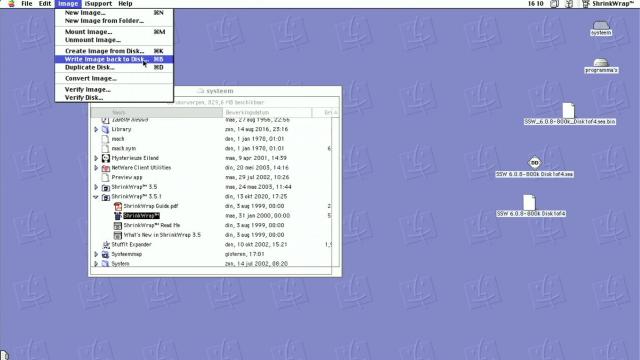
This disk image can now be mounted using ShirinkWrap application and this way we can write it back to a double density disk. Inside the image menu we select: write image back to disk. This will prompt us to insert a blank floppy disk and the image will be written. After the writing operation is finished, the disk will be ejected automatically. We can insert it now into the Macintosh Plus to test it.
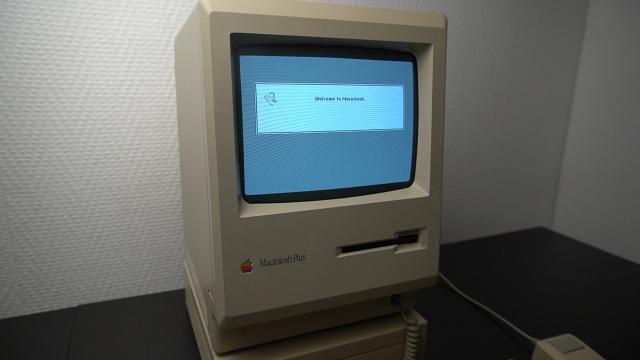
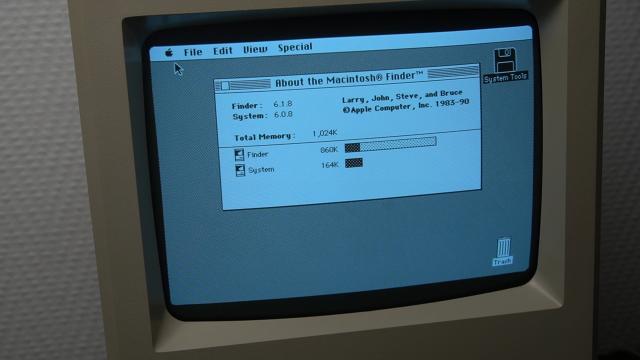
And this is a success. After a short while we see the Macintosh has booted the System 6 operating system.
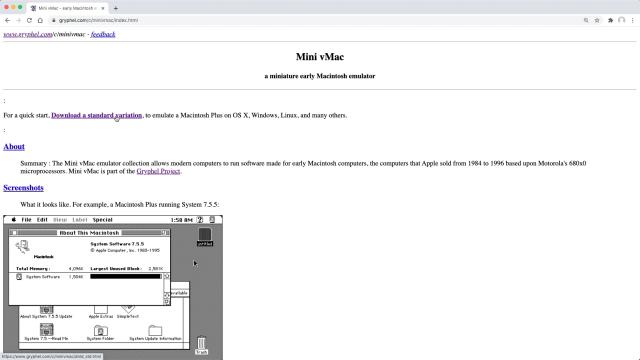
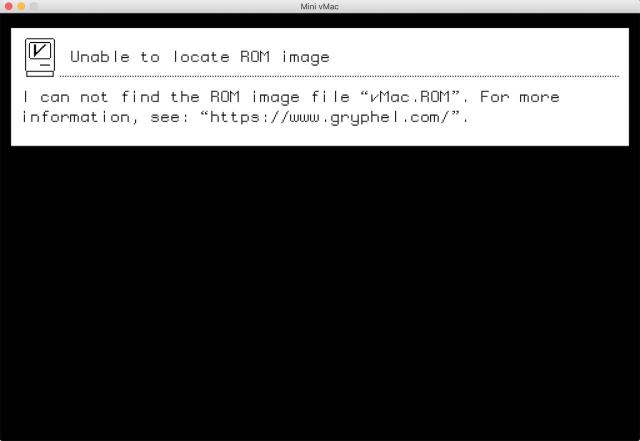
Let's see if we can find some other useful software on the Gryphel Project website. If you don't have a real Macintosh Plus there is also this Mini vMac emulator that will allow you to run System 6 software on a modern system and the emulator will also come in handy for the preparation of disk images for the real Mac Plus.
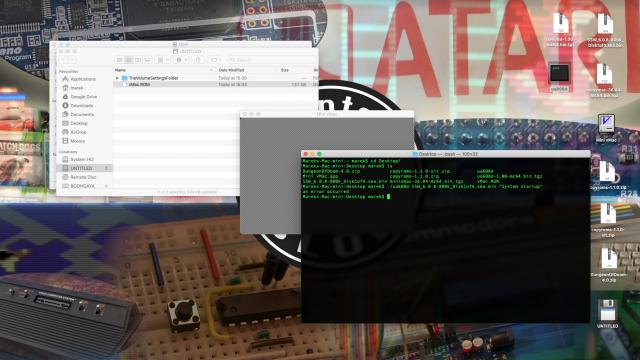
After we extract vMac and try to execute it, an error is shown that it is missing the ROM image. It means that in order to run Mini vMac you will need a ROM image of your original Macintosh. There are probably ways to find it somewhere on the internet, but the official way to get it, is by using a utility called CopyRoms. When we navigate to the getting started page there is a link where we can download the zipped or the stuff it archived version of the CopyRoms program. Let's download both and see the difference.
We need to copy both files to our local web server just like before. After downloading the files on the Power Mac, let's first extract the stuffit archive. When we open the folder we can see all the files inside. When we drag these files onto a 800K Mac formatted floppy disk, it will be readable on our Macintosh Plus.
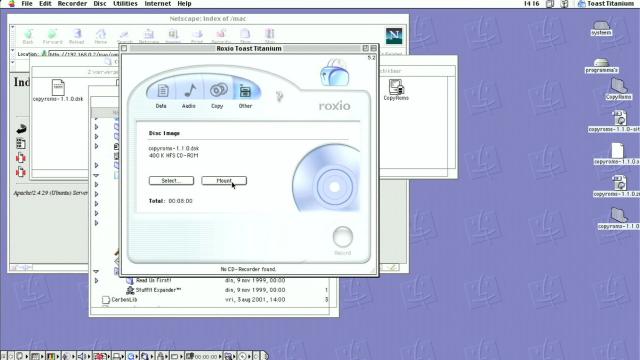
The other zip file contains a DSK image. This image can be mounted using a program called Toast Titanium Version 5. When we start the application we can select the DSK file image and mount it. After we open the mounted image it shows exactly the same contents as the extracted StuffIt archive. When we insert an 800K Mac Formatted floppy disk, the icon of the disk will show up. We can now drag the contents of the folder or the mounted DSK image onto the floppy disk icon.
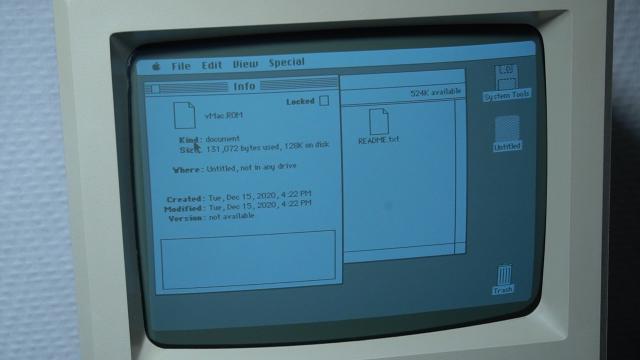
Let's insert our freshly created disk and execute the CopyRoms program on the Macintosh Plus. It will ask us if we want to extract the ROM image. After a few moments the ROM image will be written on the same disk and we will be prompted to insert the System disk. To check if the vMac.ROM file is written correctly we can reinsert the CopyRoms floppy disk and get the info of the file. The Mac will ask us to swap the disks back and forth. I guess this is the disadvantage of booting the system disk from internal floppy drive, but eventually we will see that the file has a size of 128 Kilobytes.
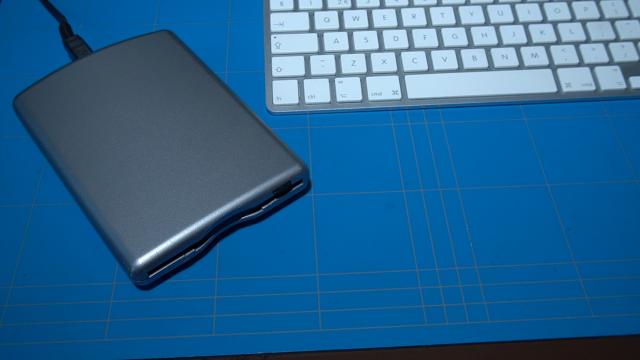
Getting the ROM image back to a modern computer is a bit tricky. Eventually I copied the ROM image from the floppy disk to the hard drive of the Power Mac and then copied it to a DOS formatted floppy disk. Then it was just the matter of reading it back using a USB floppy drive that is connected to OSX. It can be done by dragging it from the PC formatted floppy disk onto the desktop.
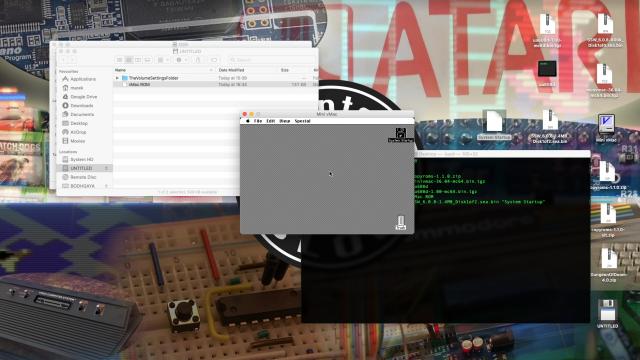
We can now drag the vMac.ROM file onto the vMac screen. And we get the known floppy disk icon with a question mark asking us to insert a system disk. We can not just simply use the compressed sea.bin file, but we will need to extract it first.
In order to do this we can download a utility called ua608d from the Gryphel project website. It is a command line tool that needs to be executed inside a terminal window. But first we need to extract it. However when we try to execute the command on the already downloaded 800K version of the system disk it will give us an error.
So let's download the 1.44 mb version of the System Disk and try running the command again. And this time it works. We can now drag the system 6 image onto the vMac window to boot it.
Let's search for some nice game that we can play on the Mini vMac emulator and the real Macintosh Plus. We can make the vMac window a bit larger by pressing control + M. Extracting the file will give us a disk image which we can then drag onto the Mini vMac window and execute the game. And that works without any problems.

Let's try to run this game on the Macintosh Plus using the same System 6.0.8 OS. Doing the same thing as before, which is copying to the local web server and then downloading on the OS 9 with Netscape Navigator, extracting and mounting with Roxio Toast Titanium, and finally copying to an 800K mac formatted floppy disk. We can insert the Dungeon of Doom game floppy into the Mac Plus and after swapping the system disk and the game disk a dozen times the game finally starts up.
But.. this is not supposed to be happening.. the game crashes!
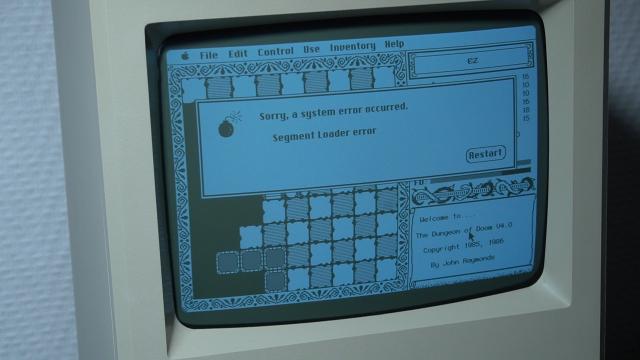
I thought that maybe I broke it somehow by doing all the disk swapping, but after booting the System 6 with the hard disk and running the game again, the same odd thing happened. Strange.. maybe my Macintosh Plus is faulty is some way.. or there is something else wrong with it. I would be happy to hear from you if you know the reason why the game is not working correctly.
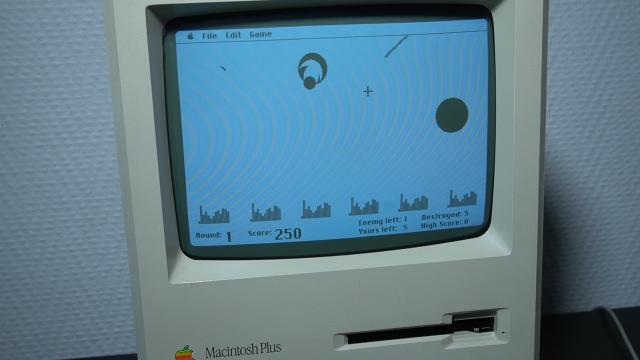
So I have decided to try another game which is Missile Command. By doing the same steps as before, which I will now mention again, we can execute this game on the Macintosh Plus and this game works without any issues.
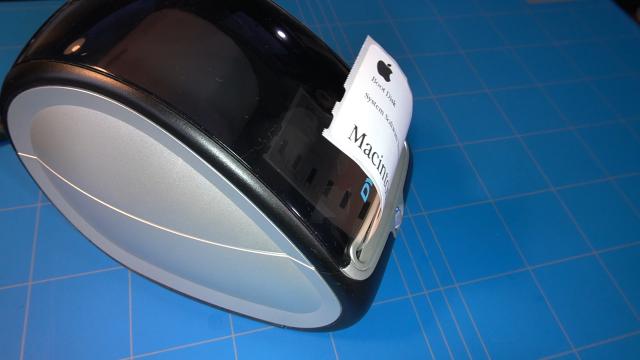
To finish things up I have made a label for the System 6.0.8 Boot disk. If you follow me on twitter you probably saw me doing this before.