This is a Magnetic print bed that can be installed on a 3D printer for better adhesion and also so your finished prints can be easily removed. A while back I installed a similar print bed on my main 3D printer, but did not document it apart from some posts on Twitter. In this post I will cover the installation in more detail.
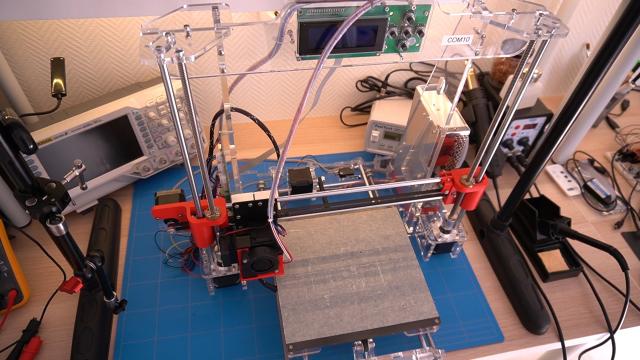
This is the 3D printer where I will install the magnetic print bed. It is a cheap printer that I bought a while back and used it initially to print parts to build my main 3D printer. Now it mainly serves as a backup. As you can see I am using masking tape as an adhesive surface for my prints. This works well, but the disadvantage is that once in a while you need to replace the tape, which is a cumbersome task. Hence the reason for this replacement.
I found this magnetic print bed by searching for the term: "magnetic print bed" online. There are several sellers that offer this particle print bed, I don't remember which exactly I ordered, but they are not expensive. You can get one for around 10 euro including shipping costs.
In order to install the print bed, I will need to remove the masking tape that is now on the surface of the heated bed.
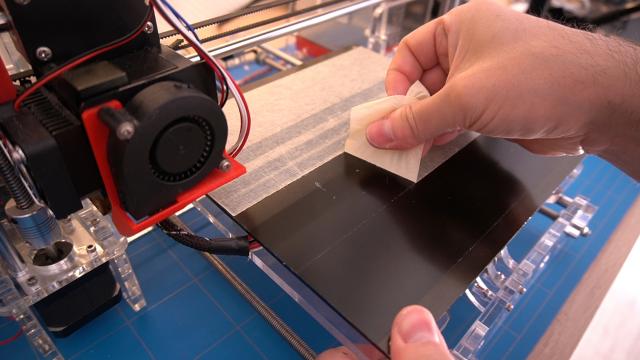
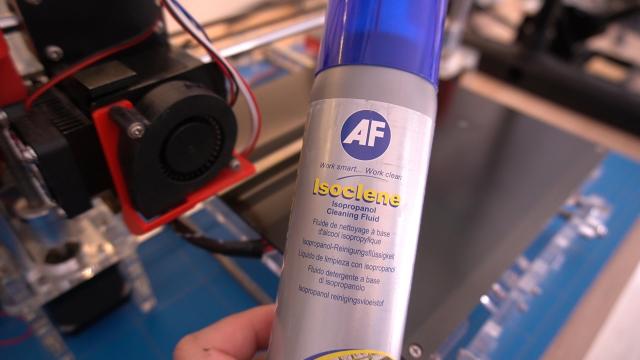
To remove the sticky remains of the masking tape I am using Coleman fuel, which is excellent for this purpose. Simply put a little bit on a tissue paper and wipe it across the surface.

I also clean the surface after this with isopropyl alcohol.
Now we are ready to apply the magnetic print bed. But before we do that , I must point out that there is a small detail to keep in mind. The orientation of the magnets on the sheets matter. This means that the both sheets will not stick together when you change the orientation by 90 degrees.
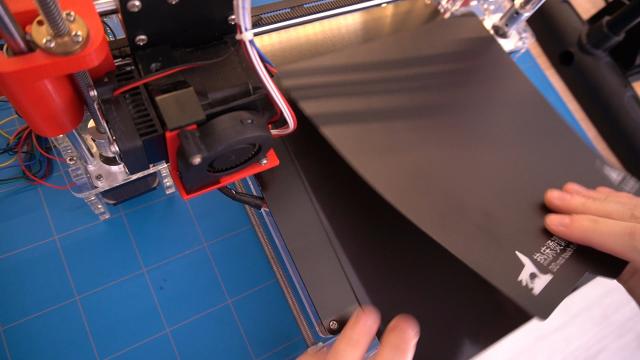
Applying the print bed is easy, first take out the paper from the adhesive side of the sheet.
Then carefully align it with one of the corners of the printing surface and advance slowly with gluing it.
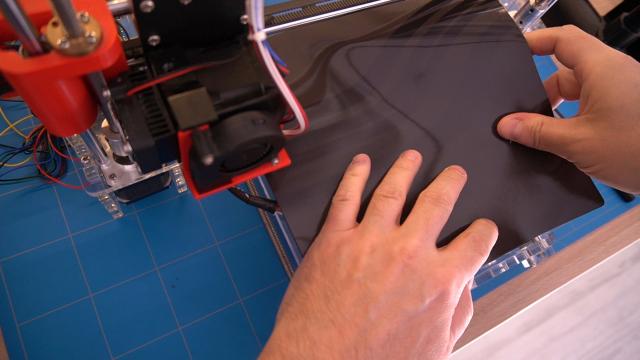
If you make an alignment mistake (like I did here) you won't be able to go back. Fortunately my misalignment was neglectable
Note that when we put the other part of the magnetic sheet on top, the magnets allow it to slide in vertical position.
By adding the magnetic bed, we have raised the printing surface. Lets measure by how much... Actually I should have done this before sticking it to the surface, but this should work as well.
The caliper shows the height is 1.87 millimeters.
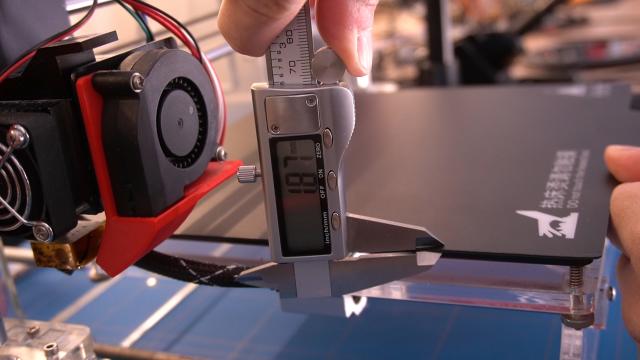
This means that we need to raise the Z-axis homing position by that height. Unfortunately there is no automatic Z-axis homing on this 3D printer, so we need to do this manually.
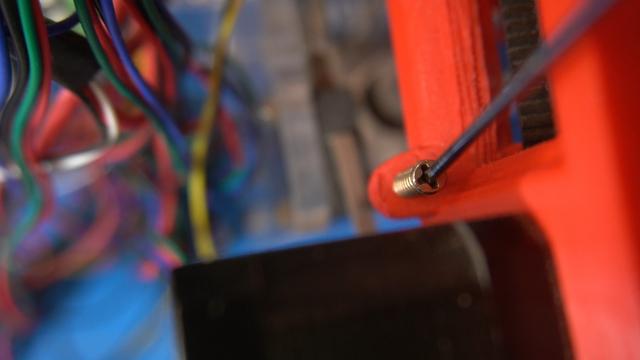
I am using a M3 screw that makes contact with a momentary switch to detect homing position, this means that I need to rotate the screw in clockwise movement by a specific count.
But how many turns is that? Let's measure it.
When we put 2 nuts on a M3 screw and twist it exactly 10 times, we should then have a distance of 10 rotations. One turn would then be that number divided by 10. And in our case it would be around 0.5 millimeters.
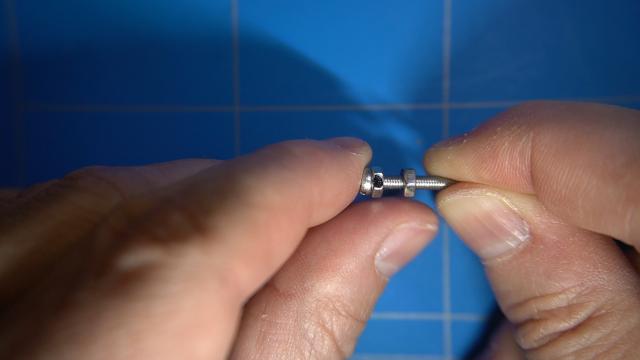
We could of course have also looked it up and found out that the coarse thread pitch of a M3 screw is exactly that distance, but there would be no fun in that.
Before the Z-axis homing screw can be adjusted, we need to raise the X-axis rail in order to get some space to turn the screw clockwise . Using Printrun we can connect to the COM port of the printer and raise it by a distance of 10 millimeters.
Dividing 1.87 (which is the height of the magnetic bed) by 0.5 mm, results in the need to turn the screw a little bit less than 4 times in clockwise direction.
When we slide the extruder along the X-axis, we can see that it is slightly above our magnetic print bed, however the gap gets larger at the end of the rail.
Turning the stepper motor coupler of the right axis should fix that and bring the hotend of the extruder a little bit lower.
The middle of the print bed is always a little bit higher than the sides and the hotend is touching it. Let's lift it a little bit using Printrun and turn the adjustment screw a quarter turn.
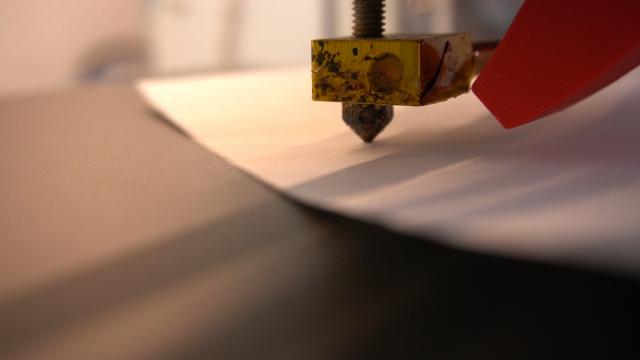
After homing the Z-axis again we can fit a sheet of paper which indicates that the hotend is at the exact right height.
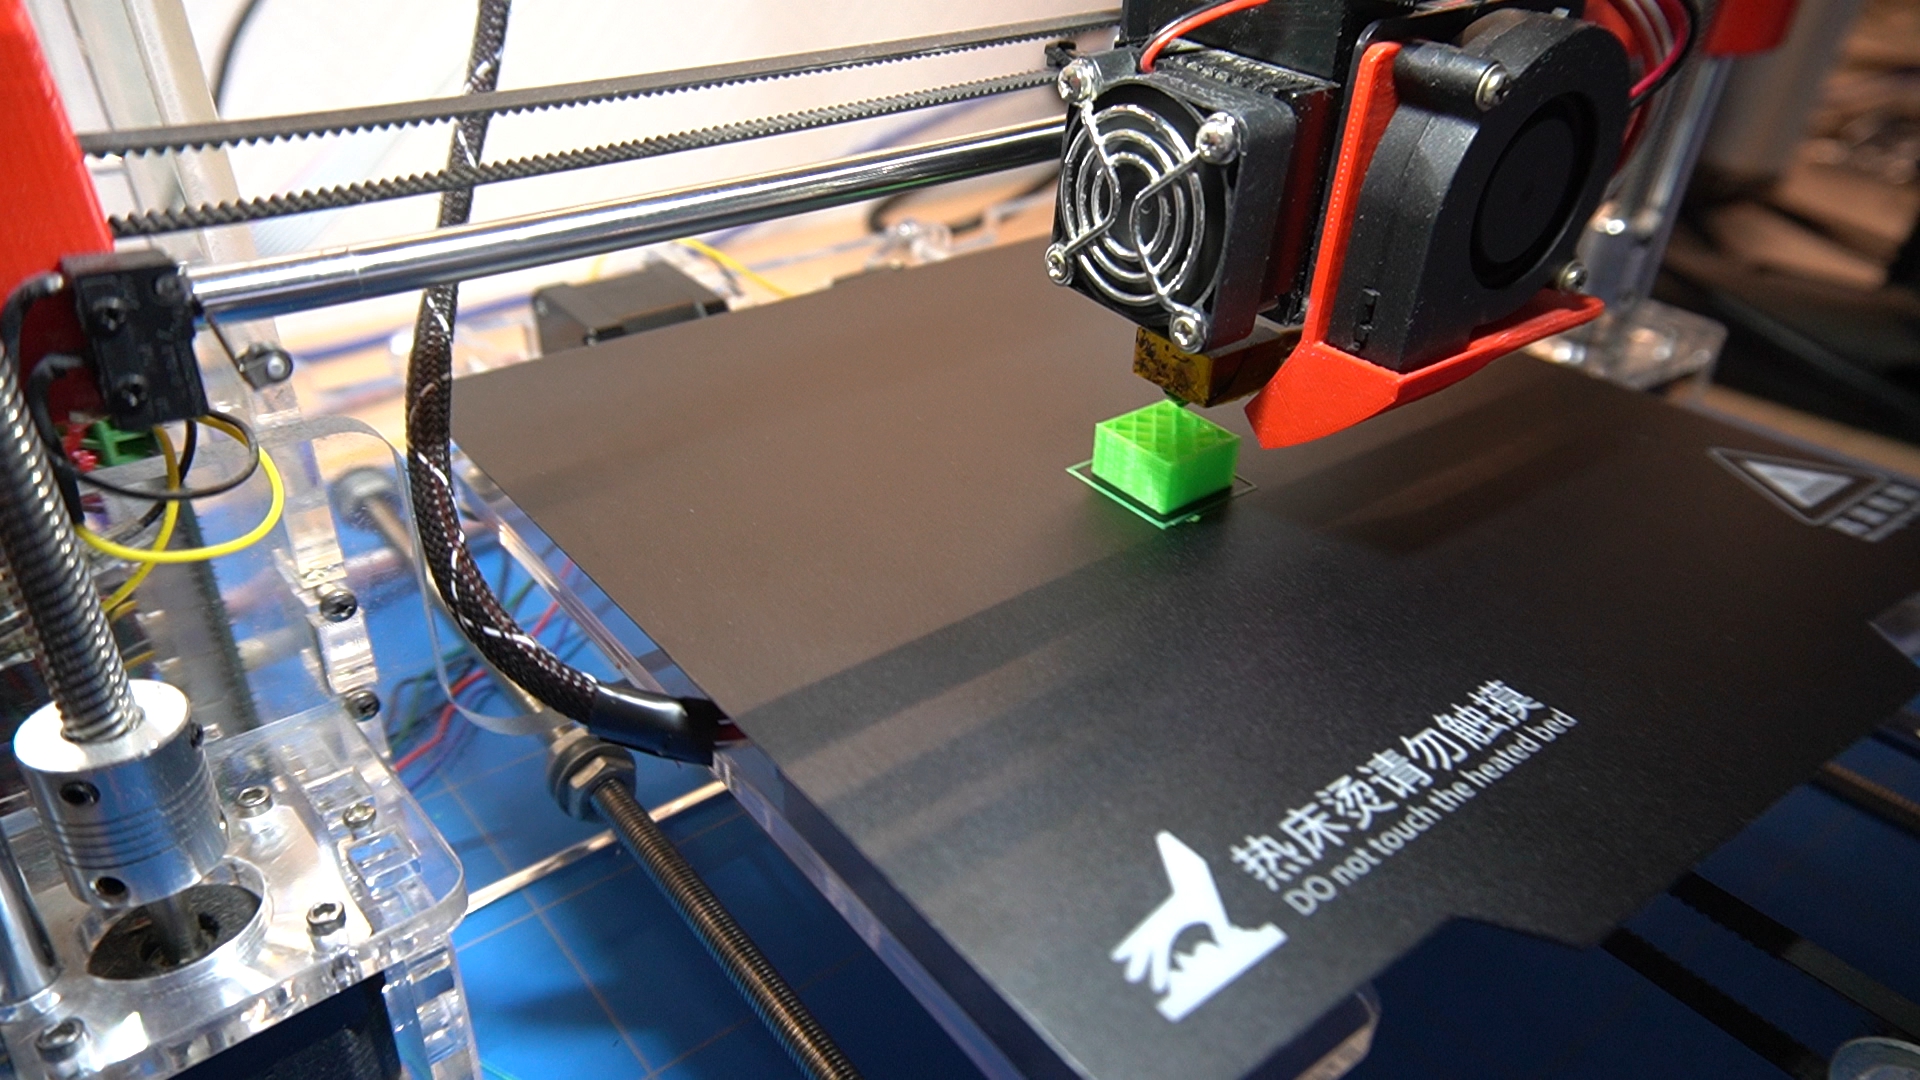
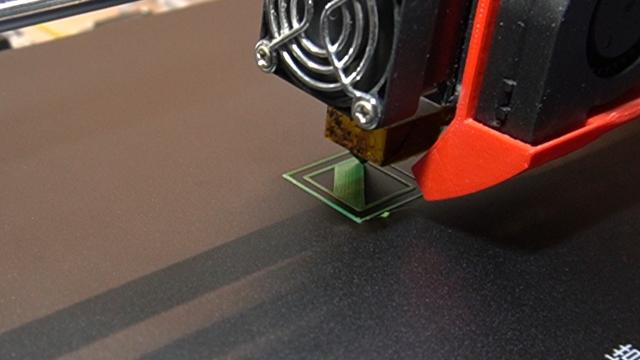
FInally we can make a test print. Let's search for something easy to print. This 20 mm cube will do just fine.
I am using an old version of Cura, as it works better with this now somehow aged 3D printer. We can load our 3D model file and start printing it.
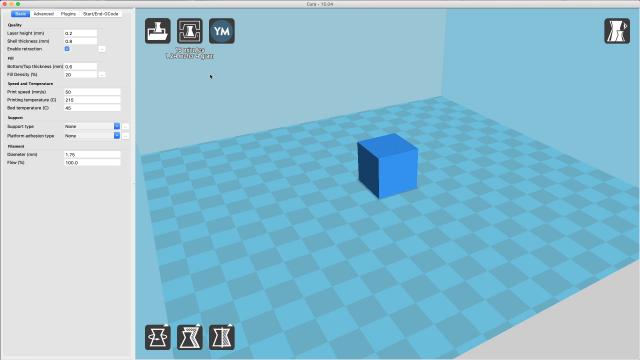
I am using PLA and the bed temperature is set to 45 degrees.
Let's see how our new magnetic print bed will behave. 3d Printing the first layer is always the most crucial part of the printing process.
And as we can see in this close up, the filament is sticking to it very well.
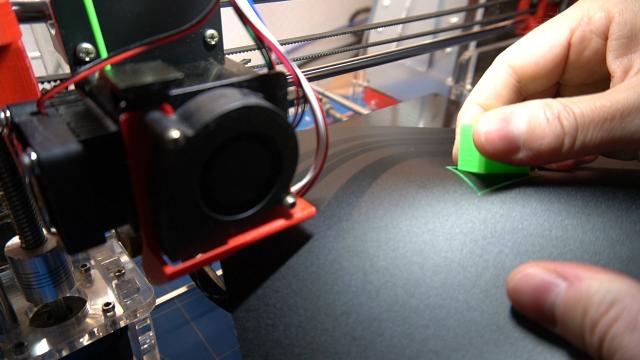
Removing the finished print is also very easy. No need for a spatula and the risk of damaging the masking tape or yourself. If you ask me, this is a must have modification for any 3D printer.